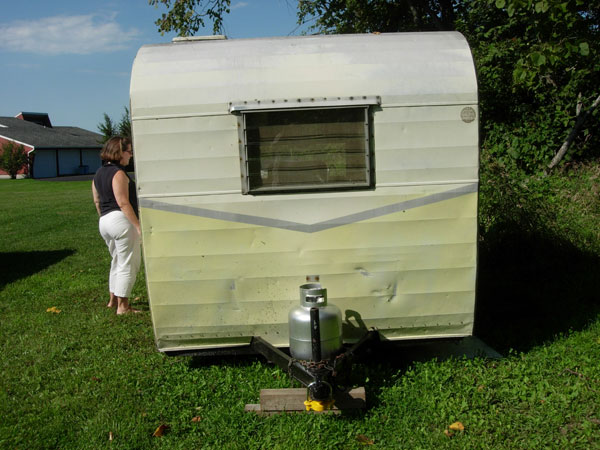
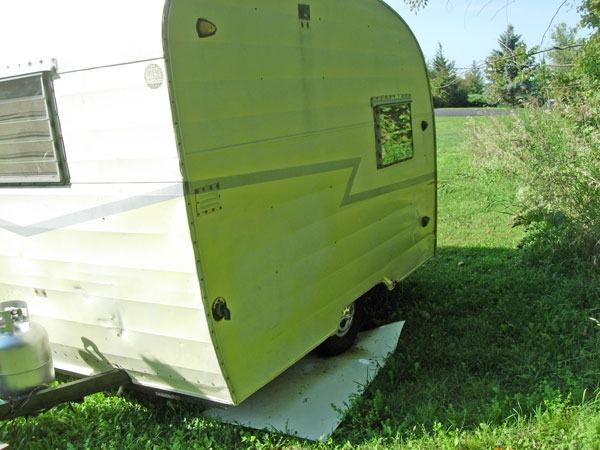
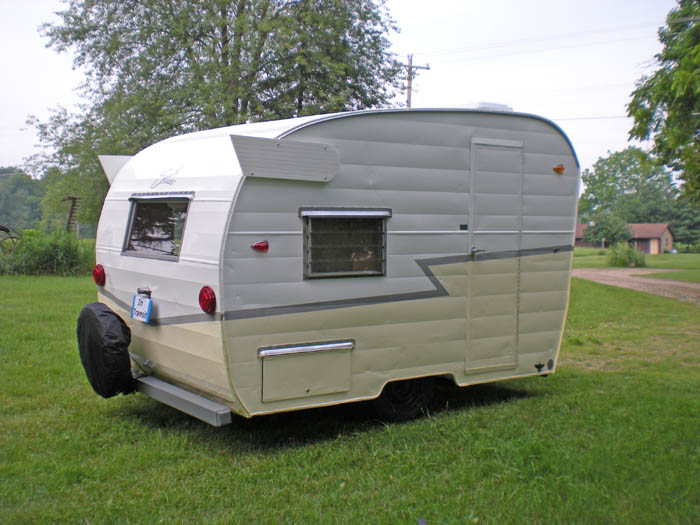
1962 Shasta Compact Project (Nancy Kroes)
The goal with this project is to take a standard Compact configuration and give it more storage space for long-term traveling. Removed the dinette benches, added a full-time 45" wide bed, added a closet next to the potty room, added a dresser to the left of the door and rebuilt the kitchen to add a fairly decent sized electric refrigerator. Removed the water tank, but added a new pex-type city water connection. Also updated the electrical, added a second circuit and more outlets (originally had outlets only as part of the two light fixtures). I think it turned out very well and all objectives were met.
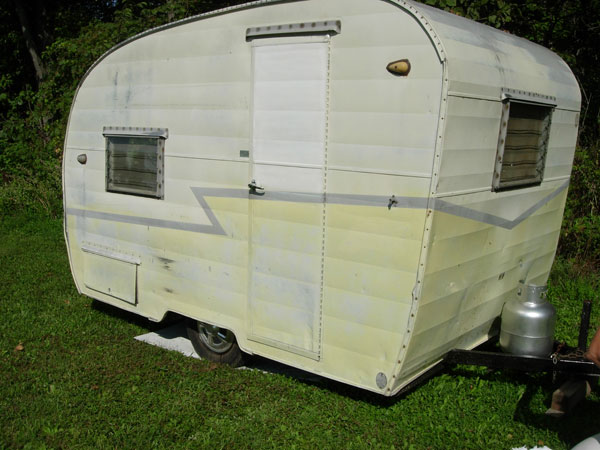
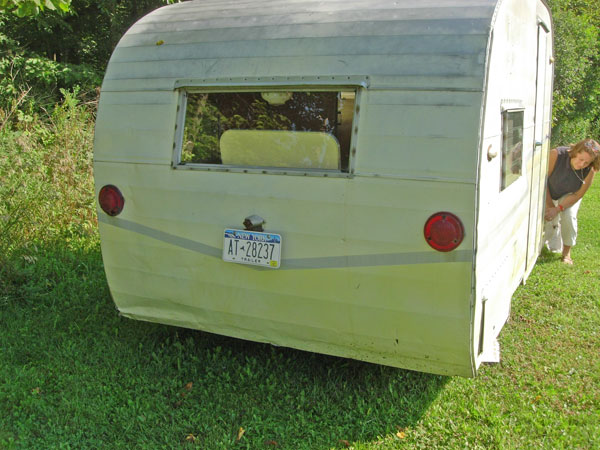
No bumper - solid fixed rear window which appears to be original
Tongue
jack innards are missing
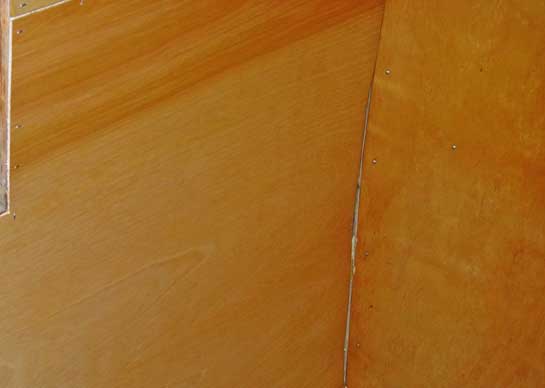
Skin
is in reasonable shape
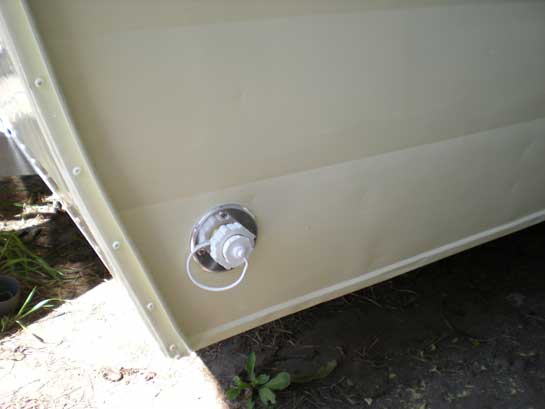
Water
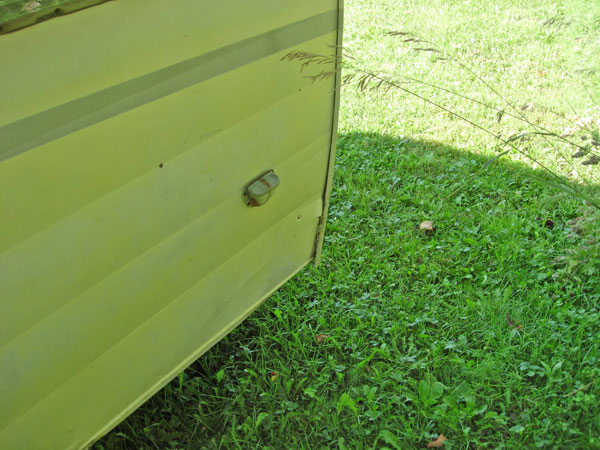
filler cap
A
bit of an ouch here

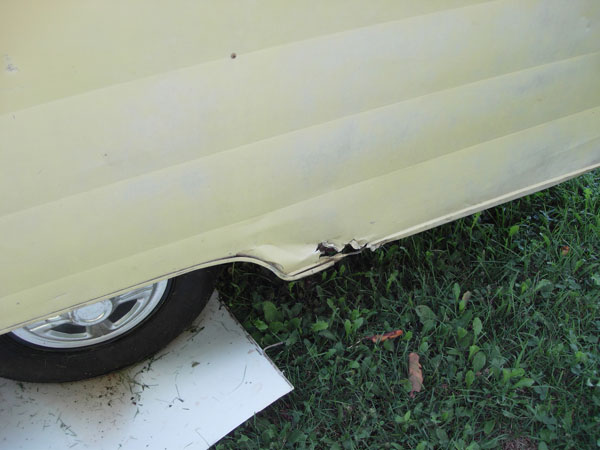
Door
needs new birch but screen door is not bad
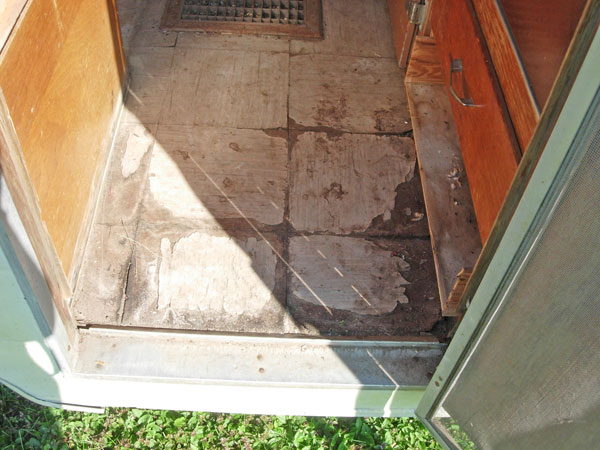
Floor
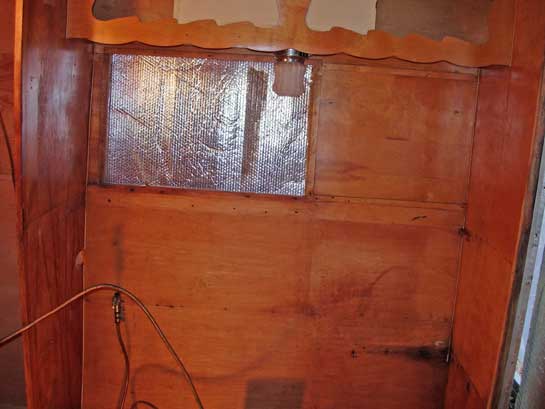
directly below the roof vent is bad - still solid though
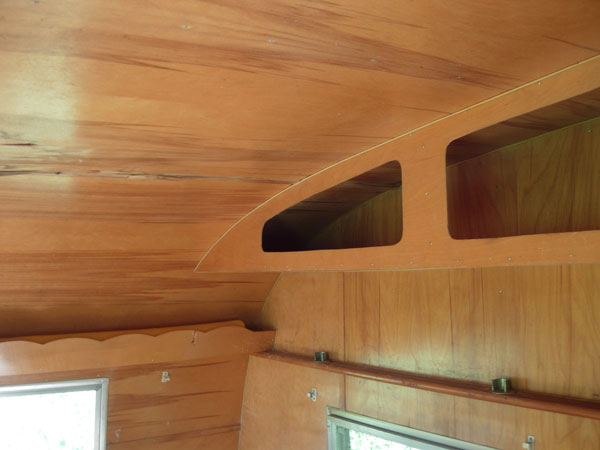
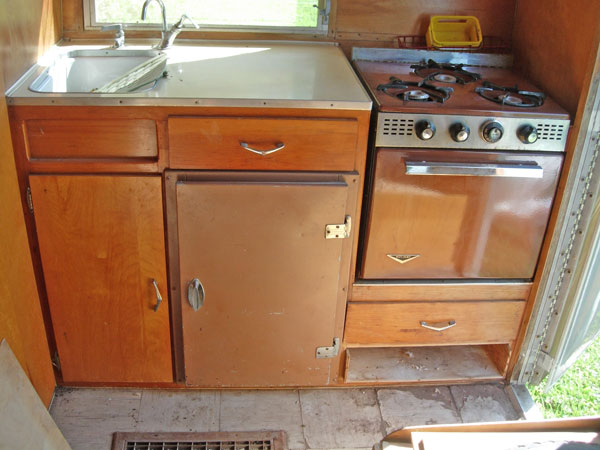 Beautiful
birch interior and a full stove/oven! That's an icebox. Beautiful
birch interior and a full stove/oven! That's an icebox.

Cute
cabinetry with plastic laminate doors - match the counter and table tops!

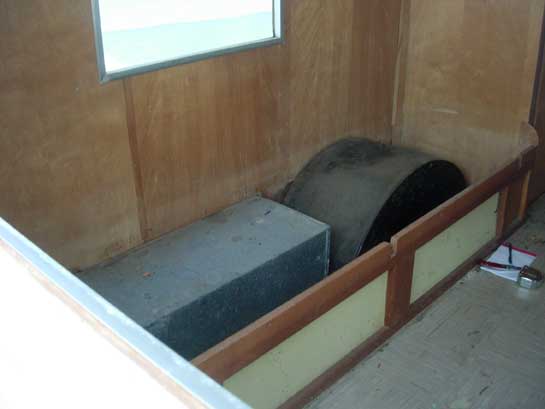
Potty
room/wardrobe
Has
the twin bed dinette setup
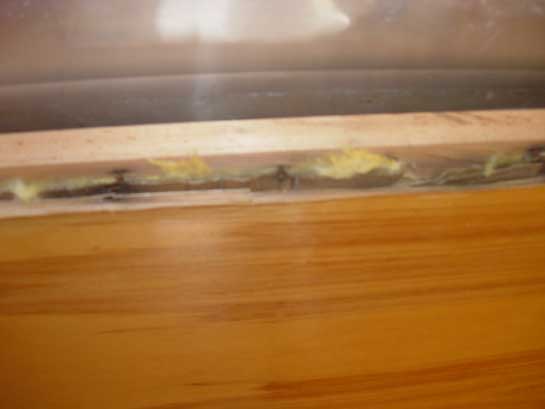
Slight
past leakage under the back window
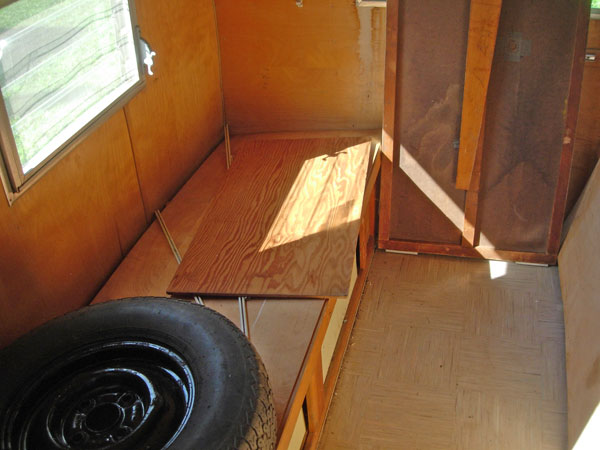
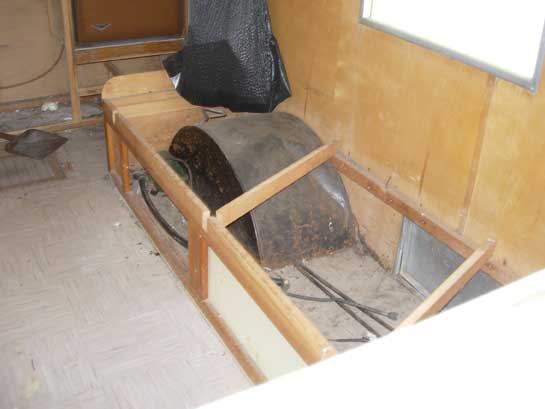
The
other twin bed/dinette seat and a spare tire too!

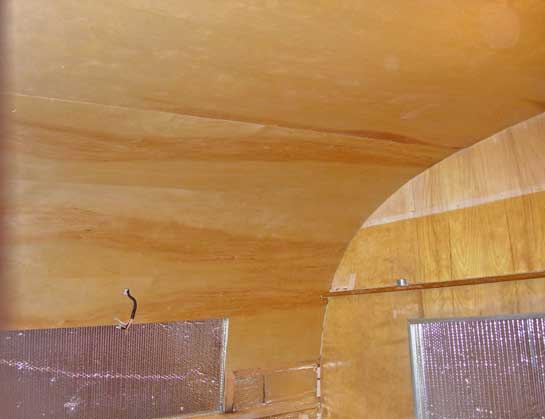
Some
minor ceiling damage
More
minor ceiling damage
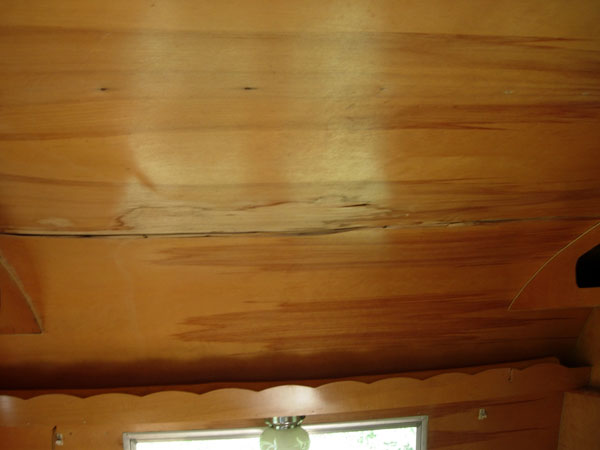
The
rest of the ceiling damage
Cute
cabinets and comes with a twin-sized hammock bed as well!
Nancy and Mabel towed the trailer from NY to MI to begin the repairs.

Removing the ice box & stove to clean out mouse residue
Removing dinette benches for the new bed/cabinet configuration
Ditto

Tongue jack is bolted in, not welded. That's nice.
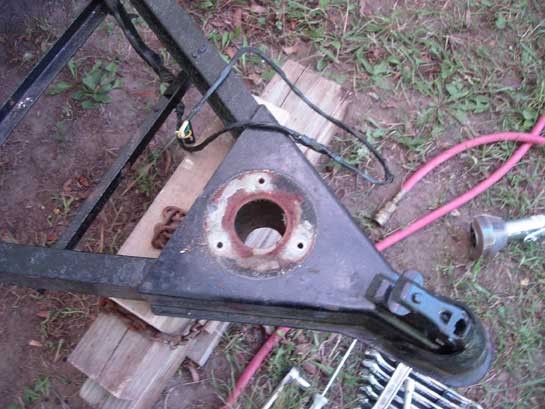
Came out real easy - now to find a new one to fit the hole!

One trip to TSC, one hole in 1/4" steel cut 1/2" larger and voila -new
jack!
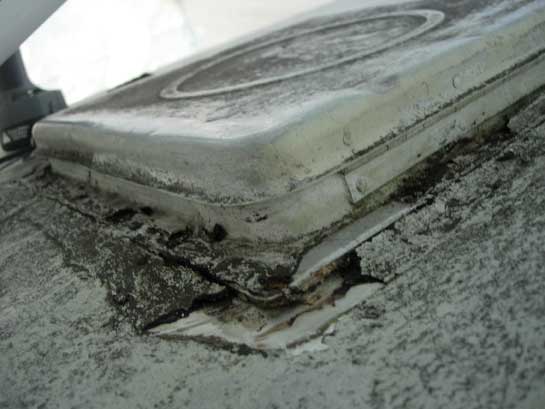
1/2" of the dreaded black tar goop all around the roof vent.
Had to chisel it away to find the screws. Found a new vent
at RV Surplus Salvage in Elkhart, IN.
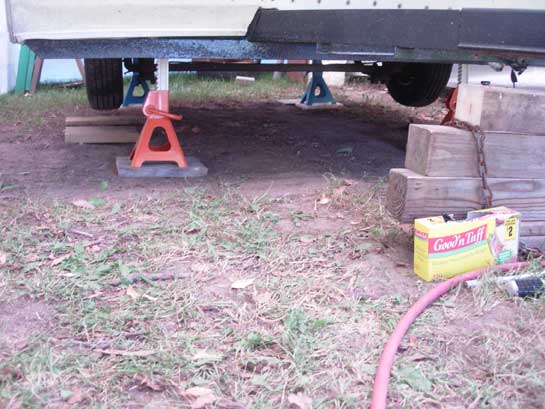
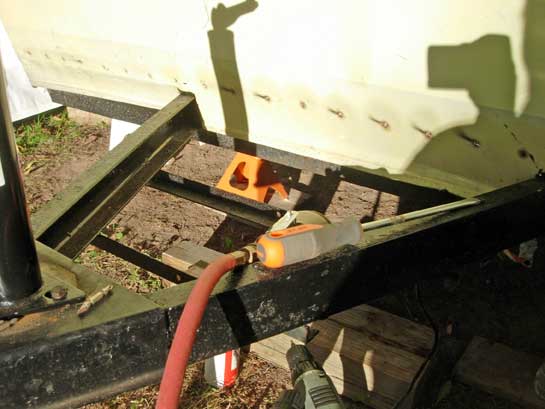
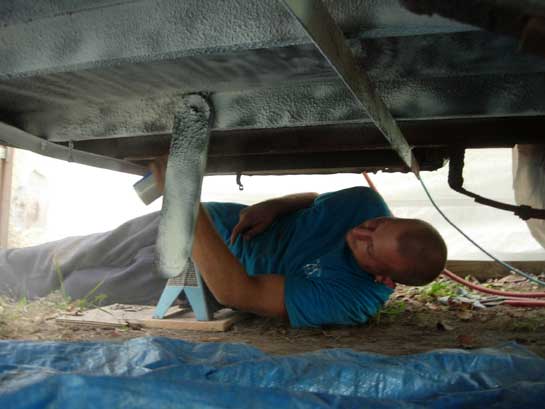
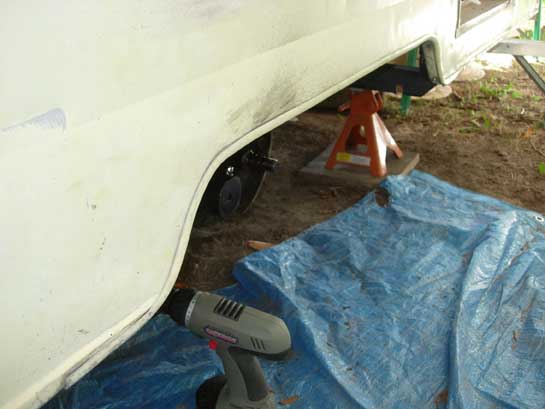
Jacked up on all four corners so I can get underneath to remove loose
scale, repaint where needed and spray on new truck bed liner to seal.
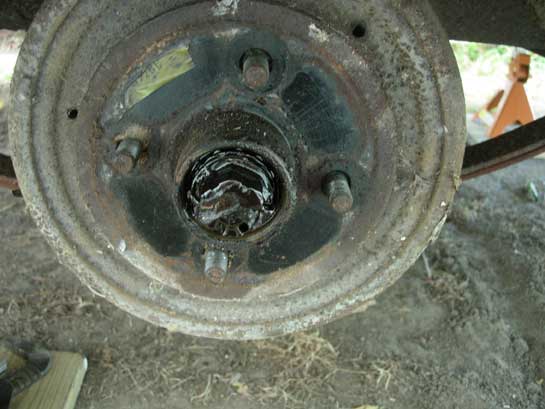
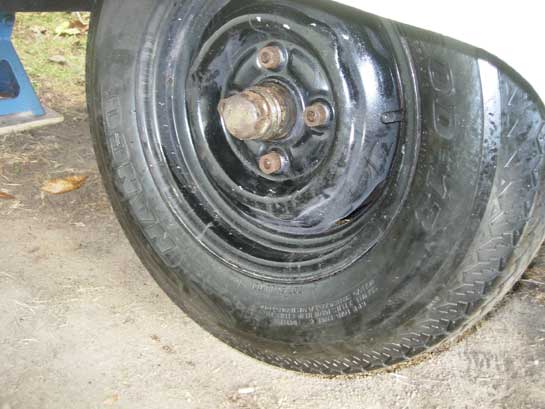
Doesn't appear to be a fresh bearing repack. Will repack while the wheels
are
off getting their new ST tires!
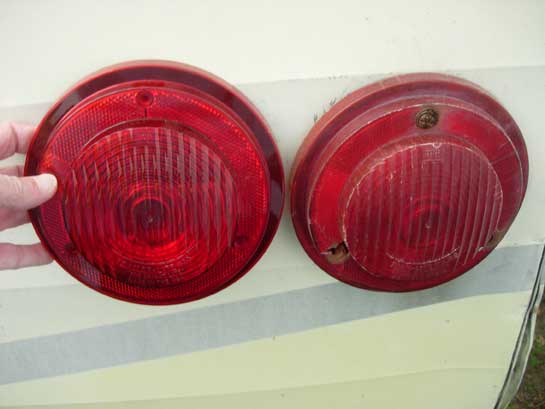
An Ebay find - new reproduction Bargman 99 lense covers.
Look exactly like the originals, but made from modern materials, so brighter
(safer)
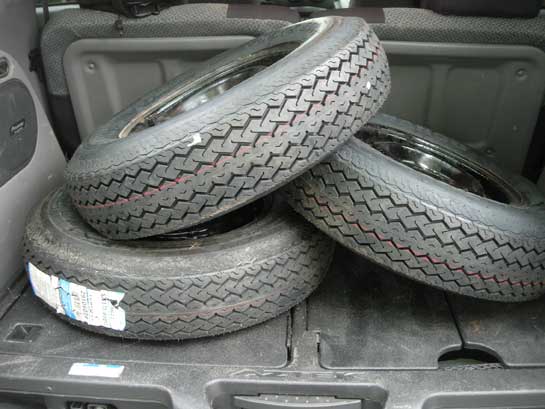
Three new ST175-80-13s to replace the P175s that were on it.
These seem so tiny next to a Scotty's 15" wheels
Dinette bench removed
Water tank & dinette bench removed
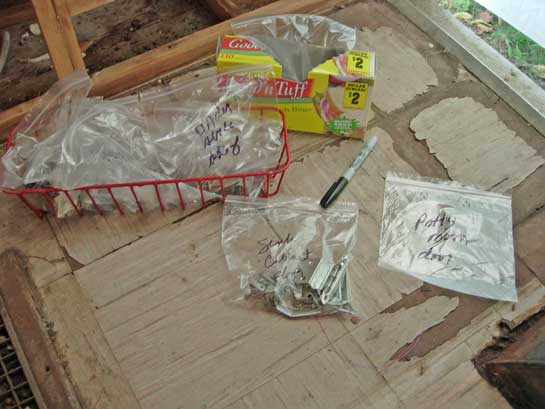
Keeping things organized
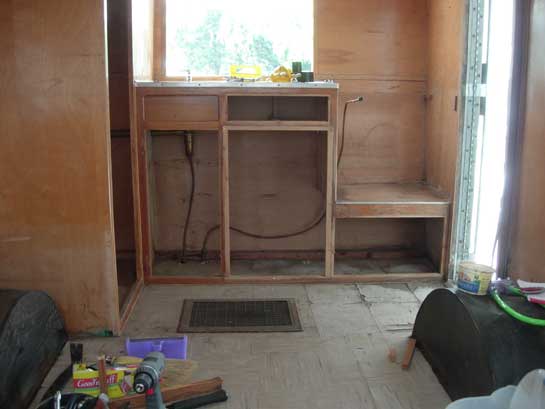
Kitchen with stuff removed
Will also remove old floor tile and put in a new sub-floor
Finally! All the totally destroyed screws along the bottom front are removed.
Had to use the pneumatic cut-off tool to cut deep slots in them
and had to buy a really really BIG screwdriver (so glad Harbor Freight came
to town)
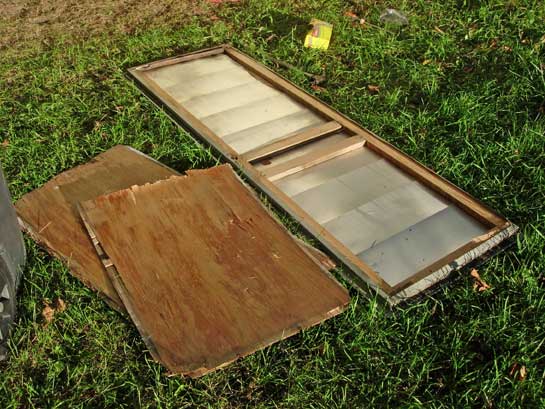
Door removed and that's all there is - nothing but a very narrow
wooden frame - aluminum skin on the outside, 1/8" ply on the inside.
Will get a heftier interior frame plus 3/4" styrofoam to add some stability.

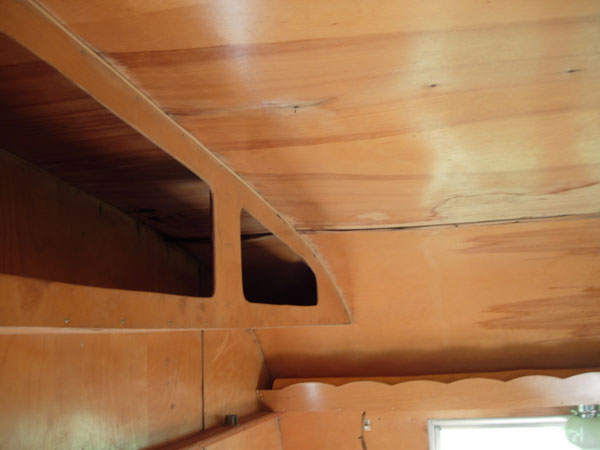
Driver's side upper cabinet removed

Door side upper cabinet removed
David painting everything white, before a new undercoating of rubberized paint
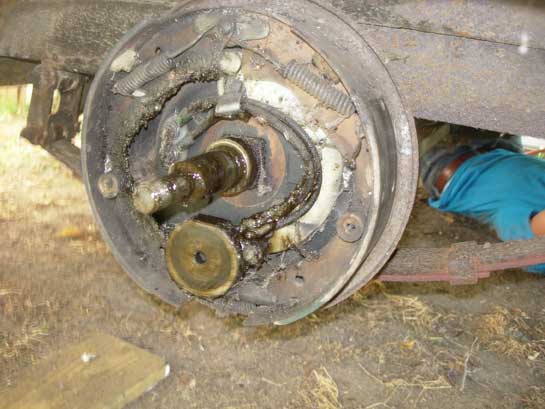
Hubs removed for bearing repack
Nasty old bearing grease
Nancy's Dad - removing the inner bearings
& David taking a well-deserved break!
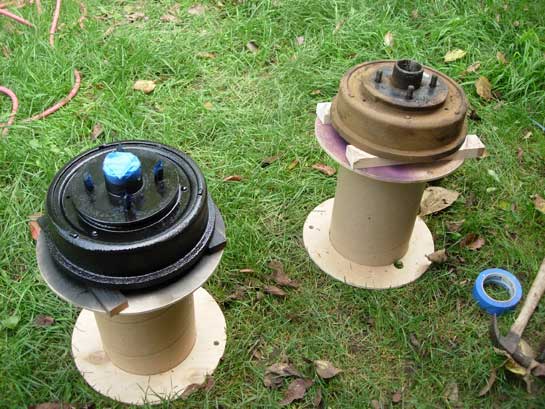
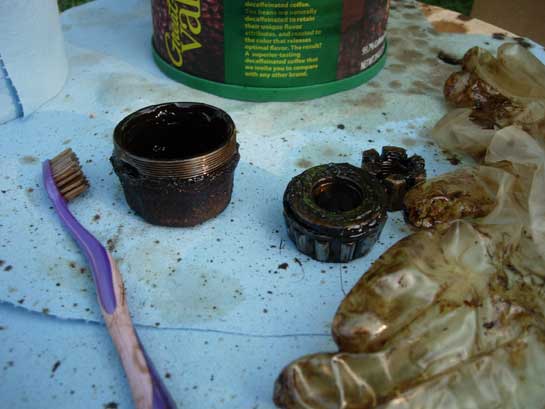
The hubs got a scrape down and repaint
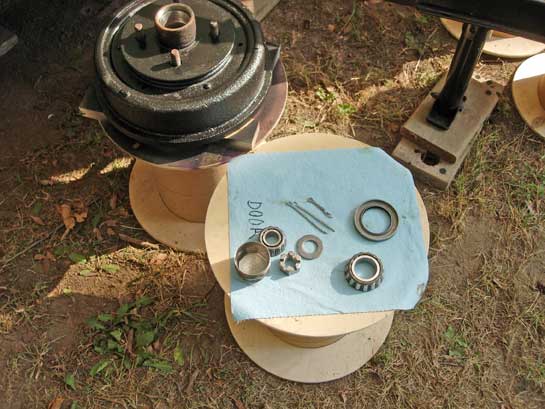
Nice clean parts awaiting new grease & new cotter pins

What's left of the door framing (bottom) member
Door side wheel well trim
Screws were completely fused to the trim and not removable
Used a pneumatic cut-off tool to cut the screws off the back
and then ground off the screw heads as well and drilled new holes
Trim piece installed with new 1 1/2" ss screws!
The wheel well has also been repaired and well undercoated.
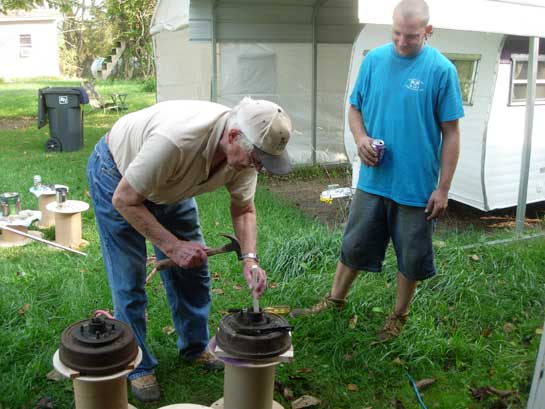
Bearings repacked and installed and new tire on!
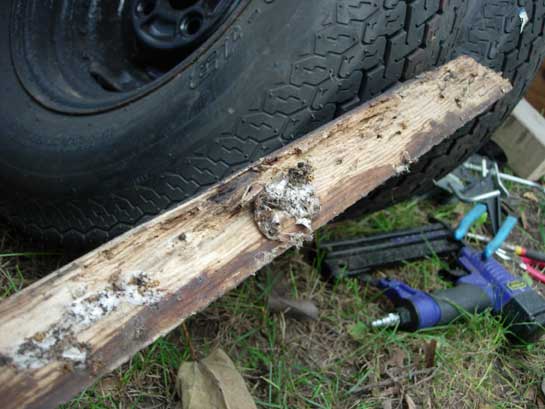
The rotted framing member from along the bottom back edge
The new pressure treated framing member. The PT was about five years old, very
dry and the location touches nothing but wood. I do not use PT if it touches meta of any type
nor would I use fresh PT that was still *wet*.
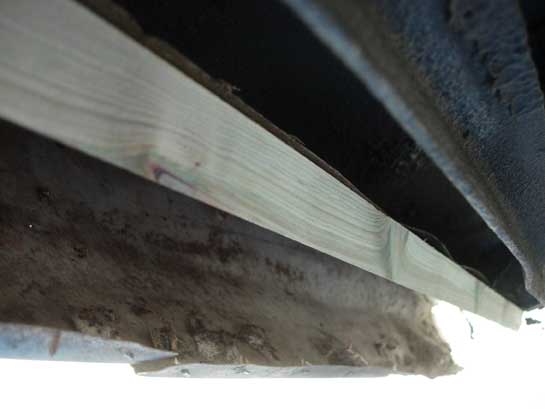
Back corner has been fixed
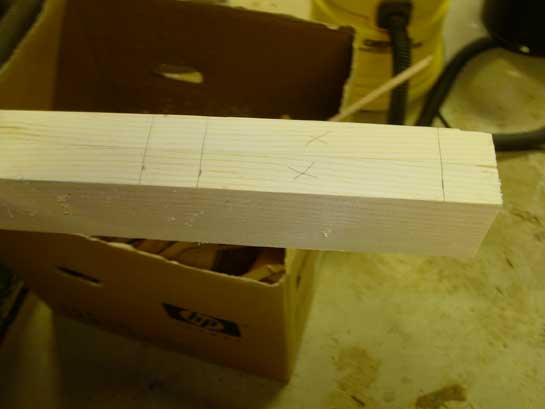
2" door framing members, marked for mortices
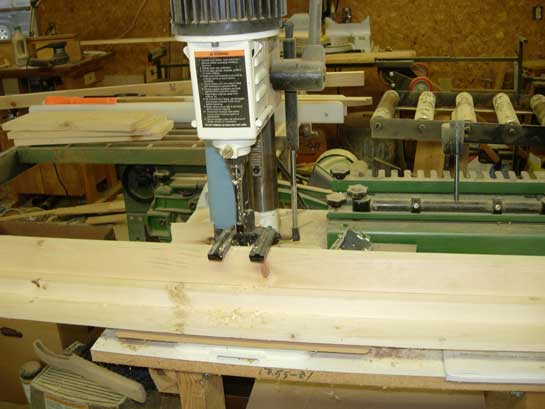
Cutting mortices
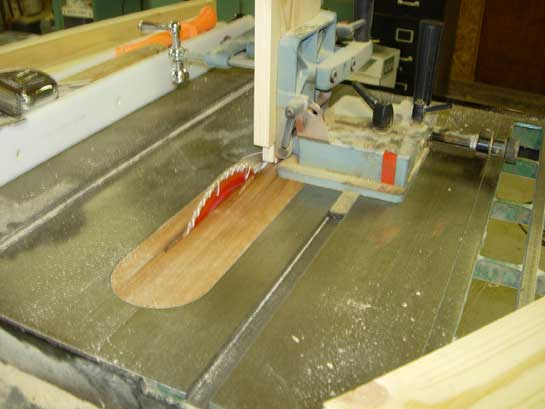
Cutting the tenons in the cross pieces
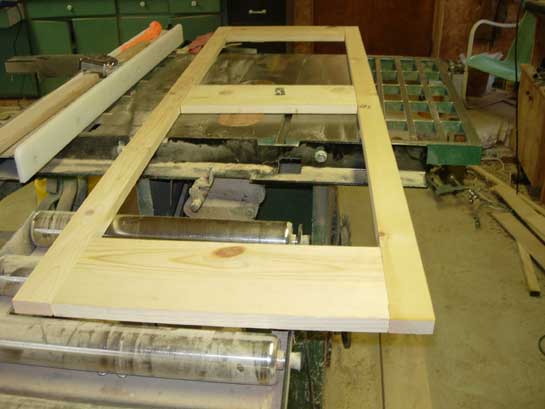
Perfect fit! 2" rails, 6" stiles - much sturdier than original 1 1/2 x 1 1/2"
frame
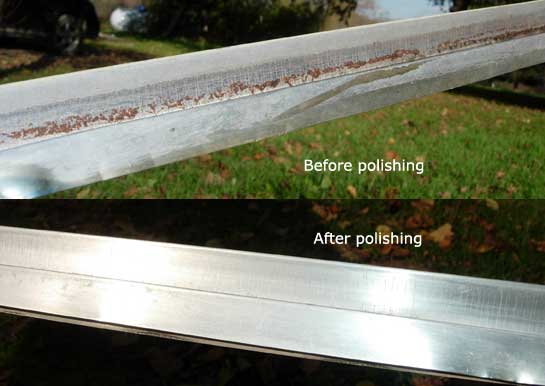
Door edge trim - before and after polishing
New interior birch door panel - oiled
Quite a bow in the laid sideways 1x framing member
Here too
New door frame all assembled with foil covered stryrofoam & aluminum tape
New birch panel is affixed to new door frame
Back lower plywood panel removed
Just 1x2 cross framing - and nothing at all in the bottom
Will add a 1x6 cross piece - maybe 2
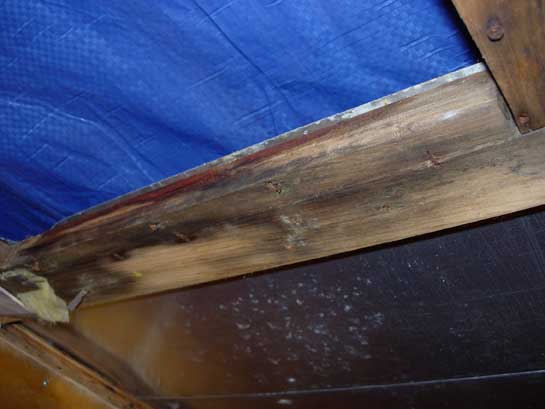
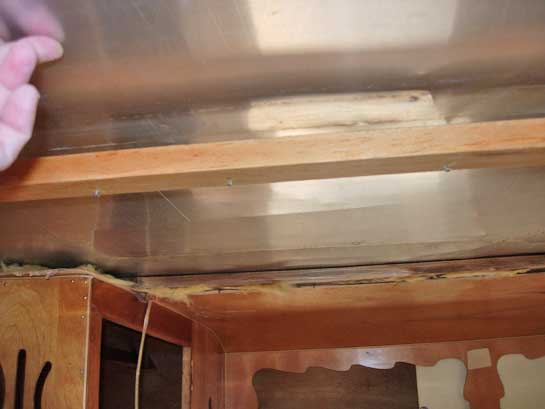
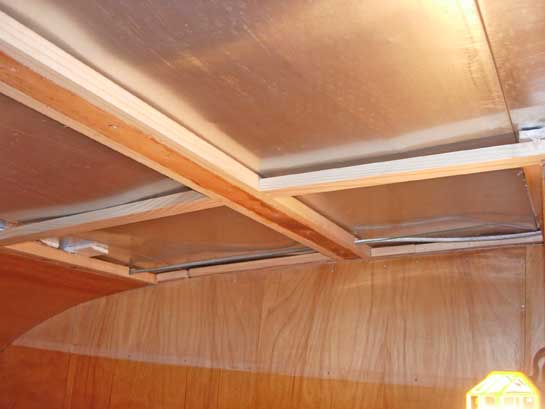
Rotted framing around the roof vent hole.
Will replace the strip that was just stapled in and will be beefing up the
framing
member that goes across the whole trailer.
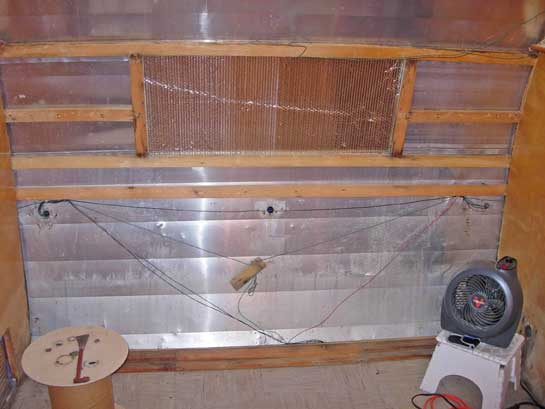
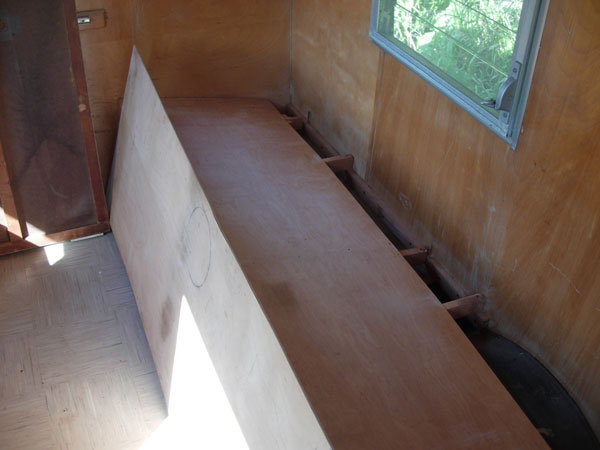
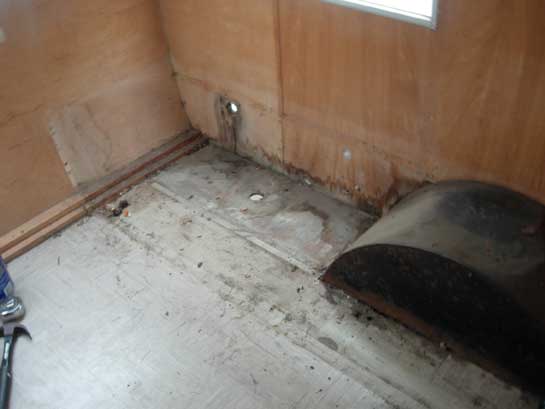
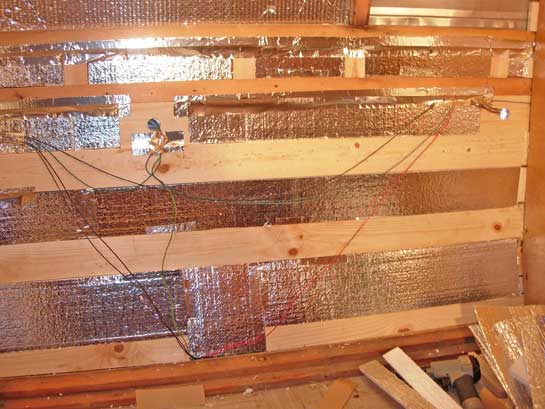
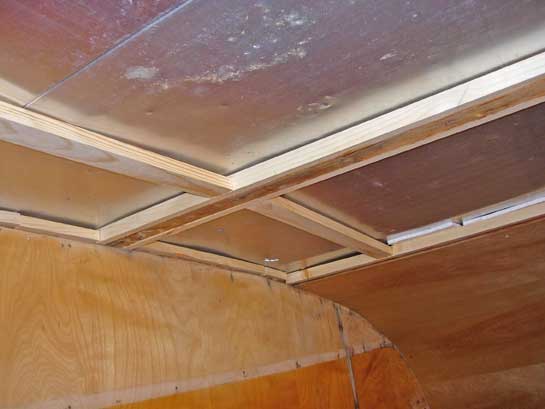
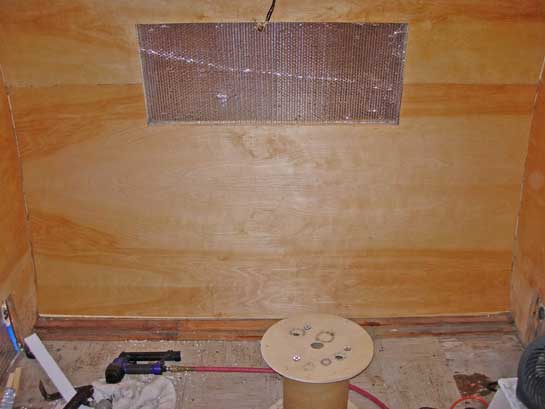
All interior plywood removed from rear floor to front upper cabinets.
Will be beefing up the very flimsy support structure.
The upper rear
All of the new whiter wood is new. Beefing up the support pieces
and, adding the blocks with holes in them to give the rear running
lights something sturdy to be attached to!
Two more cross pieces will be added below the first new one.
Using Gorilla Glue (expanding polyurathane) on the ends of the framing members
and Titebond III (waterproof) to glue the supports between the framing members.
The first of the beefed up roof supports. Added 1x1 to each
side of the existing 1x2, running them in the other direction.
Will do all of the other roof supports the same way - it does help!
The nailing blocks have been installed along the edges.
This gives me a place to attach the new plywood.
Close-up of the nailing blocks.
They were glued in with Titebond III & brad-nailed to hold for the glue
to set.
The last two cross-supports are installed and
3/4" of styrofoam, foil both sides fills in all the gaps.
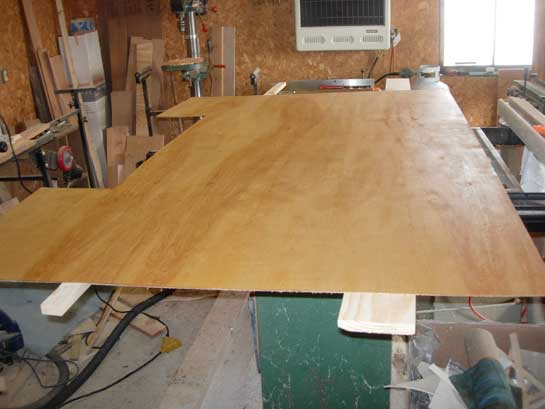
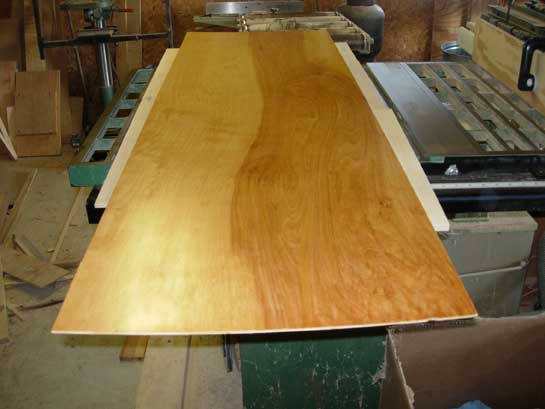
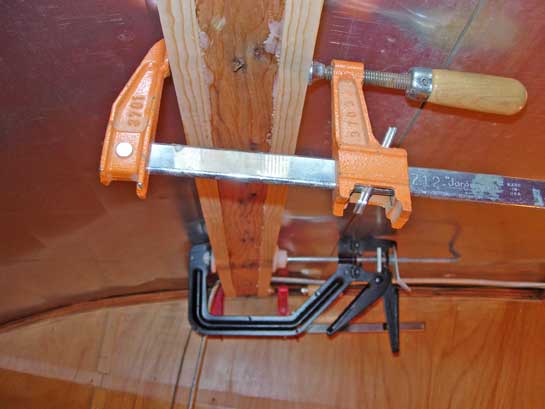
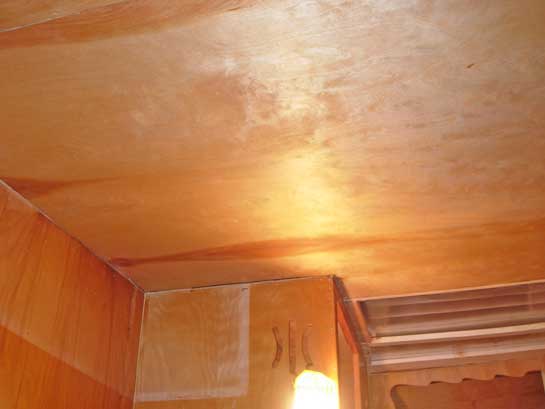
The first plywood panel is cut and has received two coats of
Cherry Watco Danish oil and one coat of 10 parts Golden Oak to one part Cherry.
After this picture was taken, the panel was carried into the dining room
to
dry completely - didn't want to waste my shop propane (seen in the rear)
as Danish Oil should dry for several days before the next step.
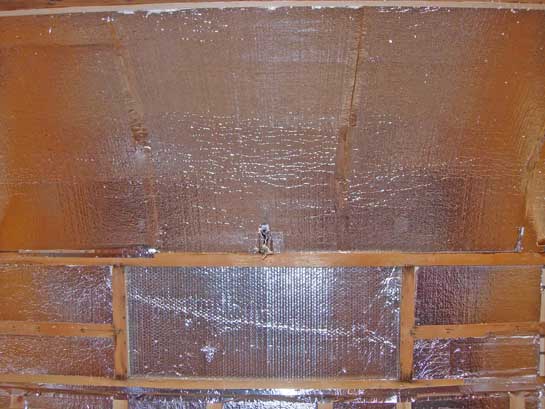
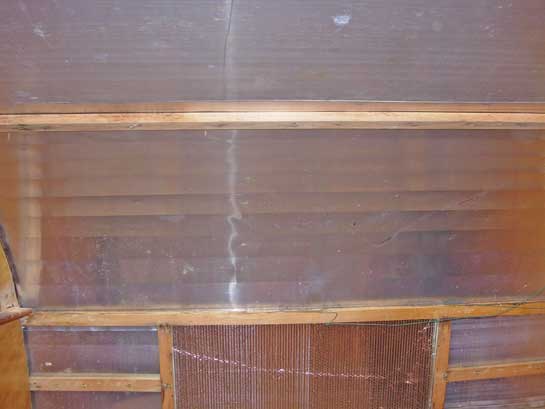
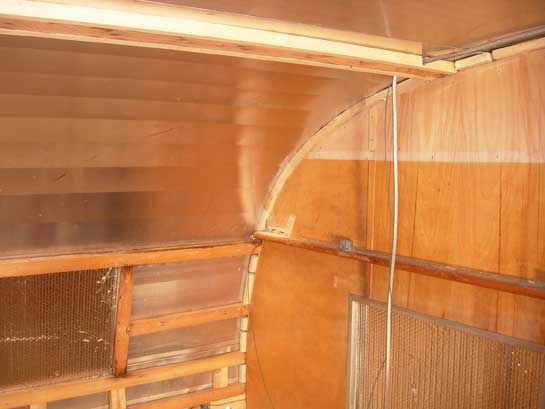
Entire rear is styrofoamed
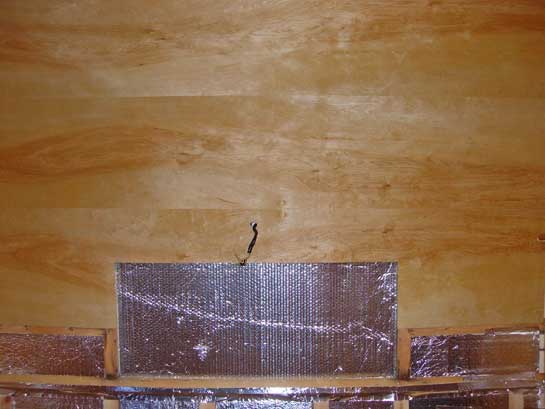
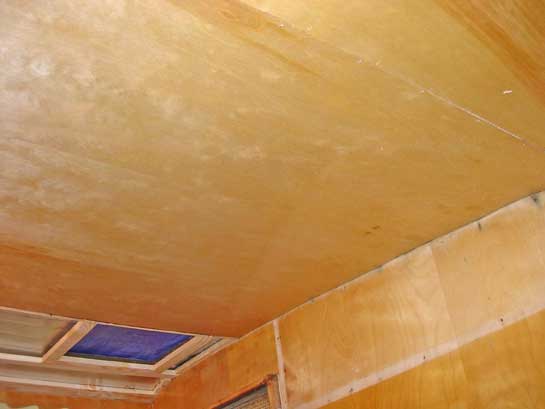
First sheet of 1/8" birch is installed.
Probably going to give it another coat of cherry oil followed by
one more coat of the 10 parts golden oak to 1 part cherry.
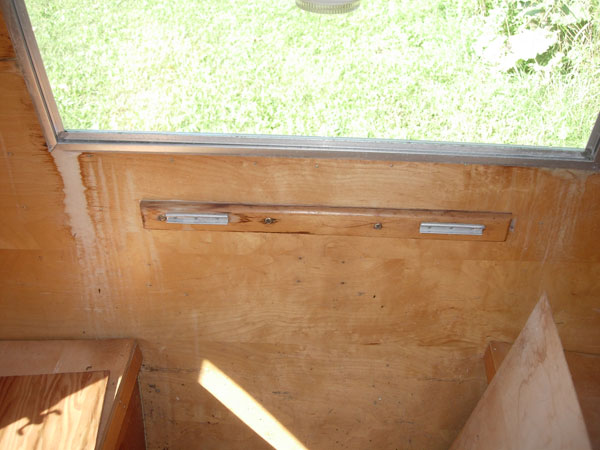
That's the wiring for the light fixture hanging out above the window
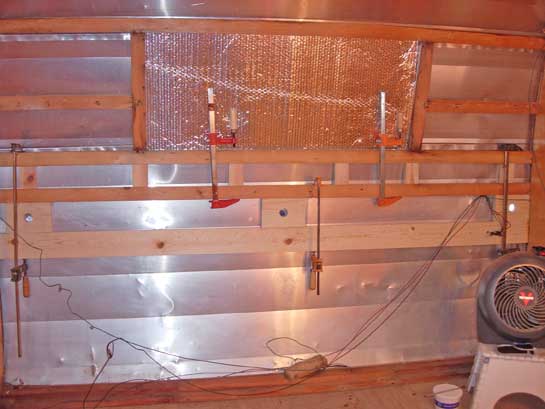
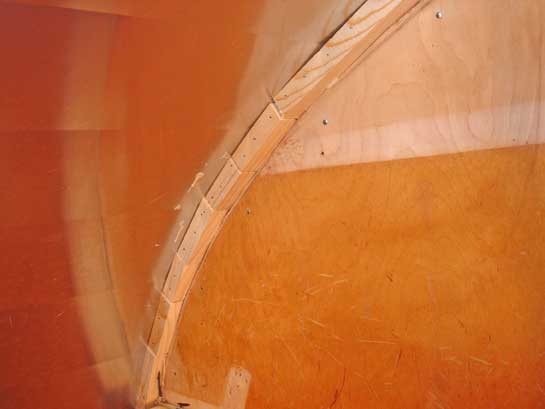
New structure added in front. New framing for the roof vent
and a new cross-piece on the back side of the roof vent frame.
Originally the roof vent frame was hanging, attached only to one cross-piece.
New structure added to driver's side -
cross-pieces added between the beefed up framing members.
Ditto passenger side. Location of these new cross-pieces
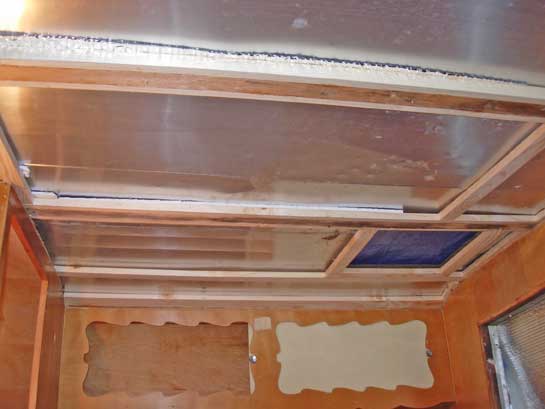
Second sheet of plywood is in.
This one had to be notched out around the potty room.
Perfect fit
Looks great!
Bottom sheet is in

As is the front, and final, sheet.
Got ready to cut the new opening for the refrigerator and realized
I would be cutting int structural supports. Opting to tear out the
old kitchen and make a new one. As a cabinetmaker, I found the
construction methods used by Shasta for this kitchen to be not nice.
This gives me a chance to stain and polyurethane this area, so all is good!

Side walls after two coats of satin-finish polyurethane
Section of the new plywood and a section of the sidewall -
again, after two coats of satin-finish polyurethane
And after a coat of Cherry Watco Danish oil over the unstained parts of the
kitchen and a coat of 10 parts Golden Oak to one part Cherry over all of it.
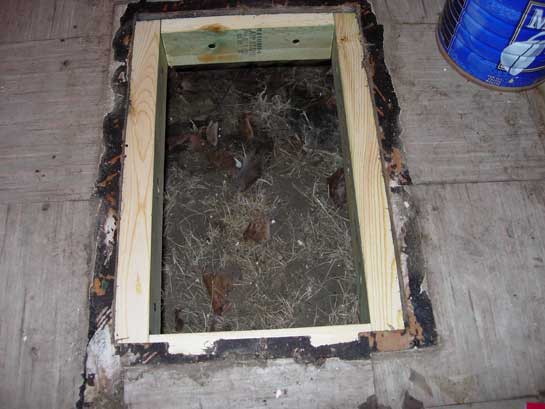
The hole from the floor furnace which had already been removed.
Framed it in pressure treated lumber, attached with sub-flooring
adhesive and screws. My lumber guys told me that the sub-flooring
adhesive was even better than construction adhesive for this project.
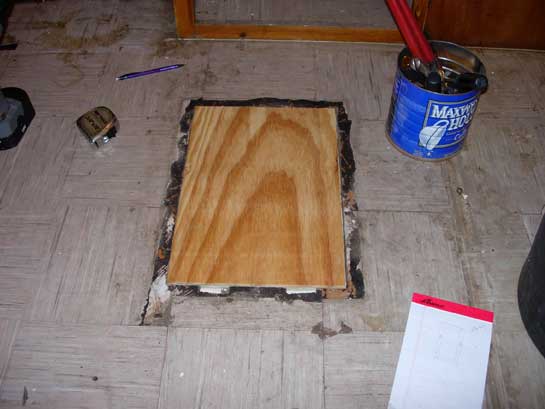
Plywood in place - no more hole!
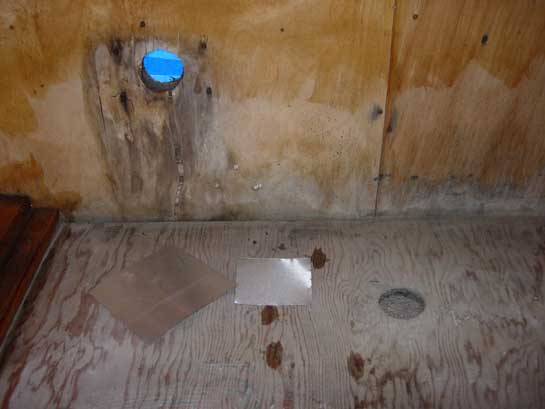
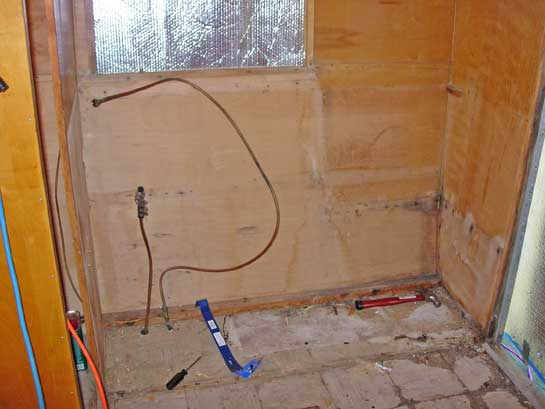
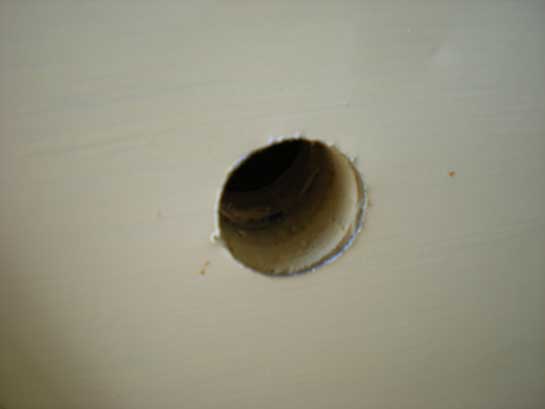
The water filler hole and the drain hole from the old water tank
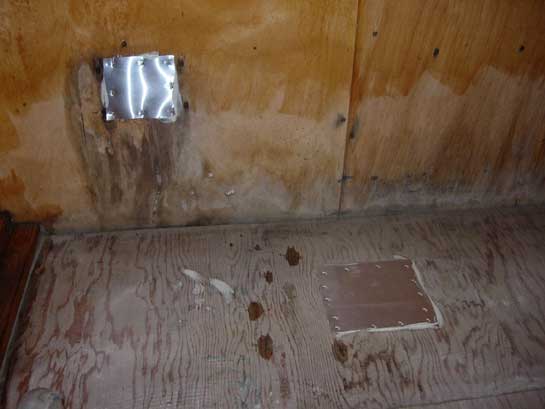
Both get an aluminum patch - stapled and sub-floor glued down.
That icky piece of lower wall will have a new panel covering it
before the new bed goes in place.
The holes in the front where gas line and water lines went through
are also patched with aluminum. Will drill new holes for the new lines.
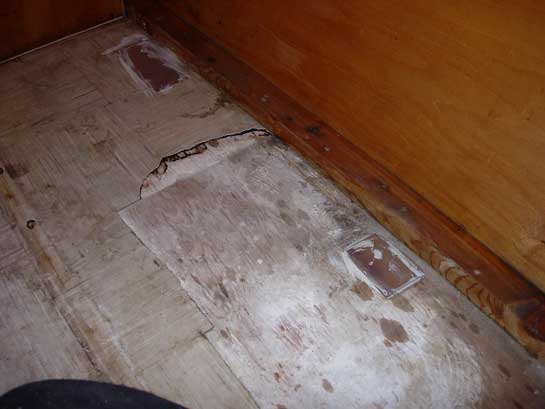
Filling in where there was tile missing with some floor tiles I had.
This way the new sub-floor will be level.
New 1/4" plywood sub-floor in place - with seams filled and sanded.
This was attached with sub-flooring adhesive and 1/2" staples
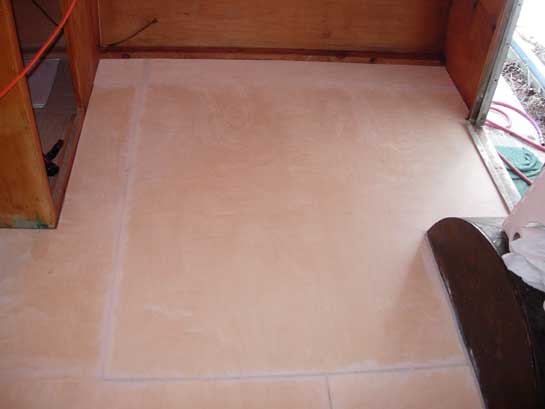
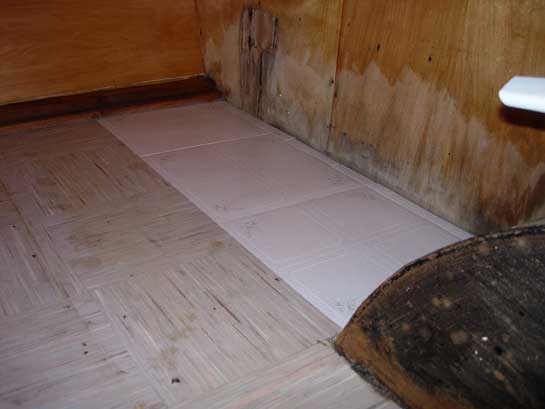
And the front sub-floor - nice smooth CLEAN surface for the new flooring!
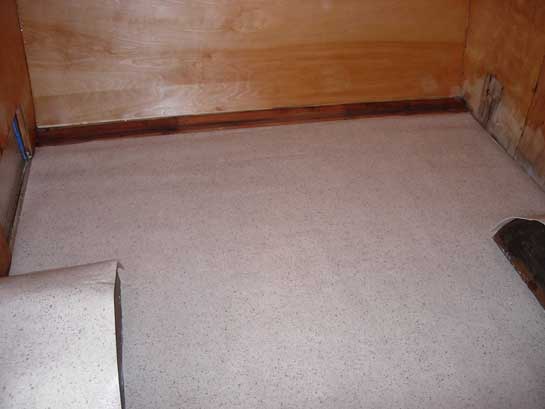
And, new heavy-duty vinyl flooring is in. The pieces cut out for the wheel
wells are lying on top of the wells.
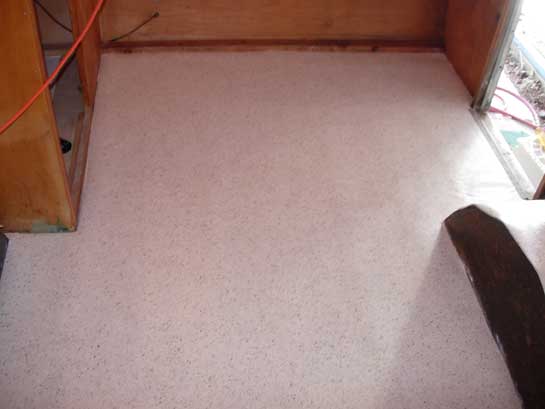
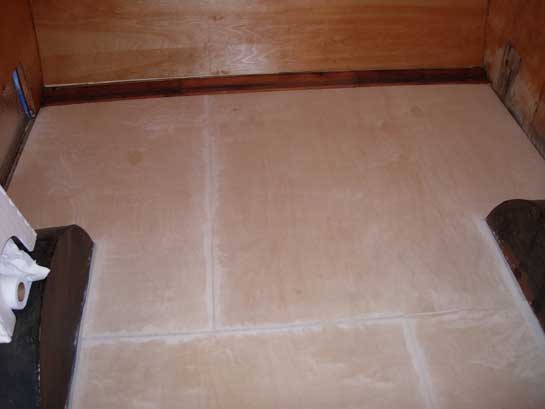
And the front.

The new yellow stove is wider than the original brown one. And, the new
refrigerator is wider than the original icebox too.
The space circled in purple shows how much too wide it makes it for
Will make adjustments to make
it fit!
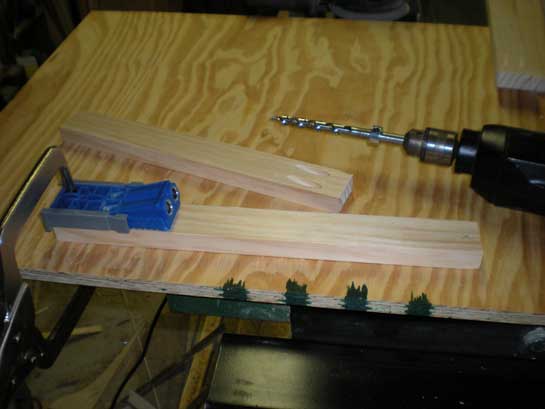
And, the new Kreg jig - being used for the first time,
to make the pocket holes. LOVE it!
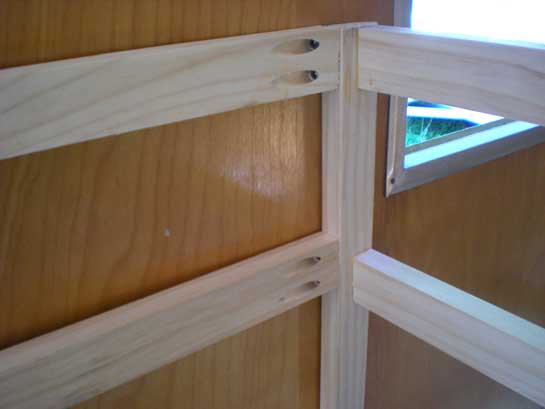
A close up of the pocket hole joinery
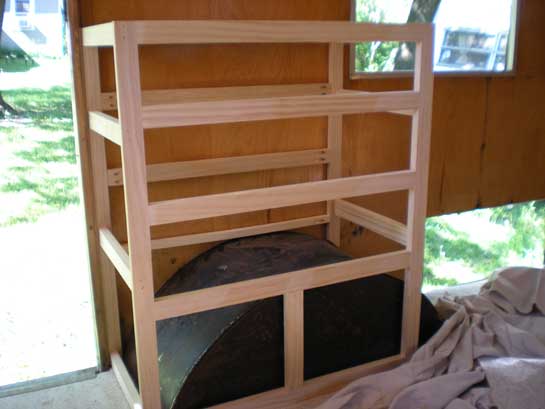
Framing for the new dresser.
The bottom will be false doors as this is only 1" wider than the wheel
well

And, installed, from above. Stainless steel screws, butyl tape between
the vent and the roof, and a bead of RV ProFlex around the outer edge.
The roof will also be Kool-Sealed - no more leaks!
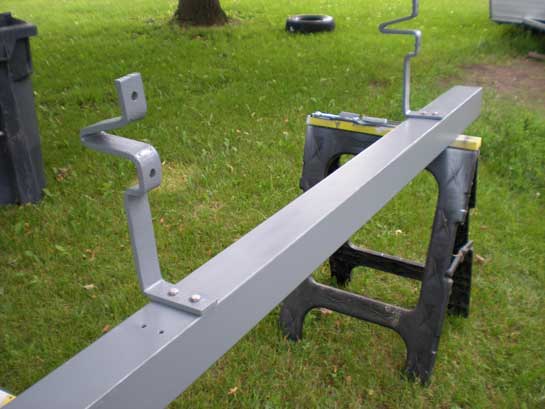
A new leg in the rear - to replace the broken one
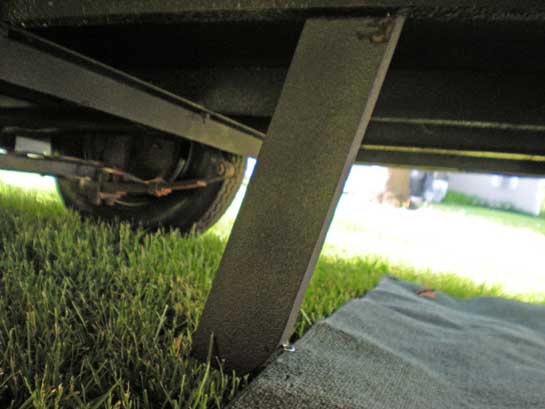
The leg in use - new hardware, with locking eye hook
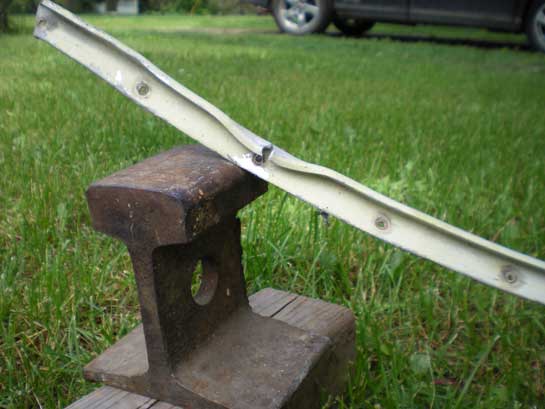
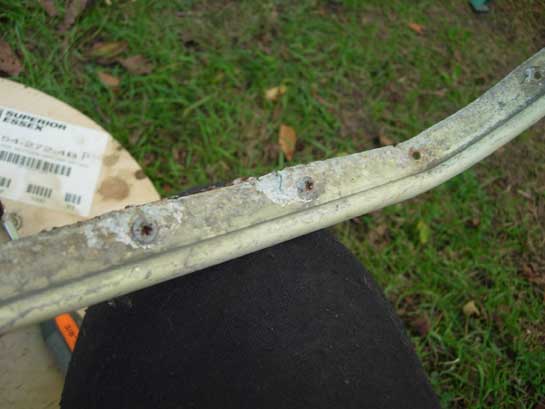
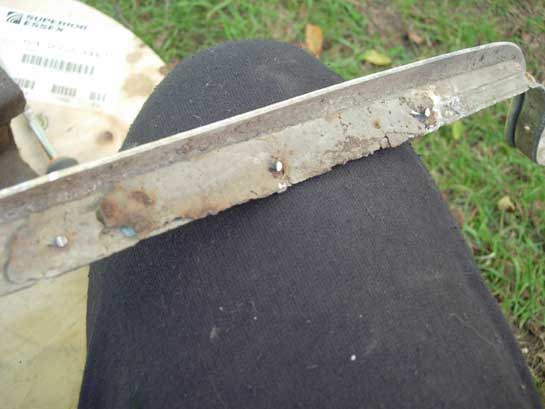
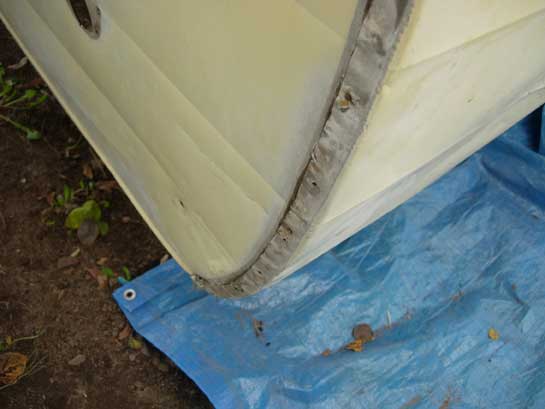
Very battered edge strips
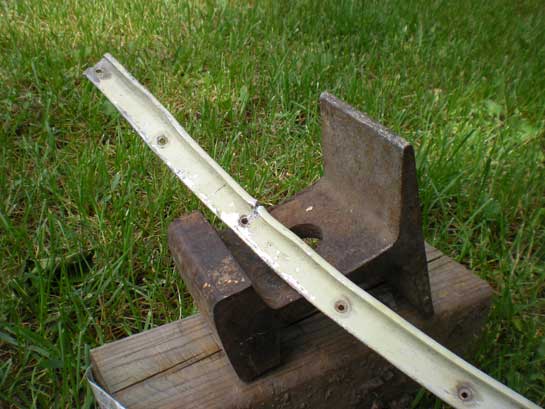
A chunk of railroad iron and a hammer work perfectly to straighten it out!

The bumper is sanded and primed
Painted and brackets added
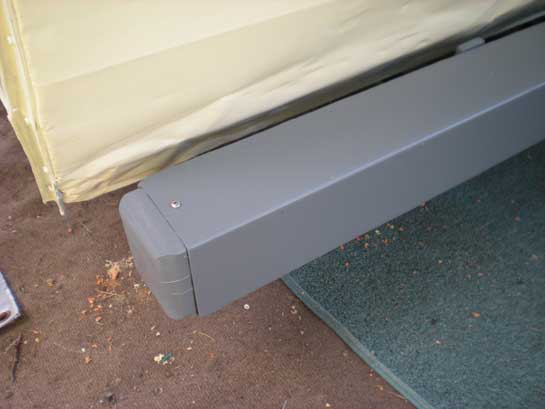
Installed with wooden end caps
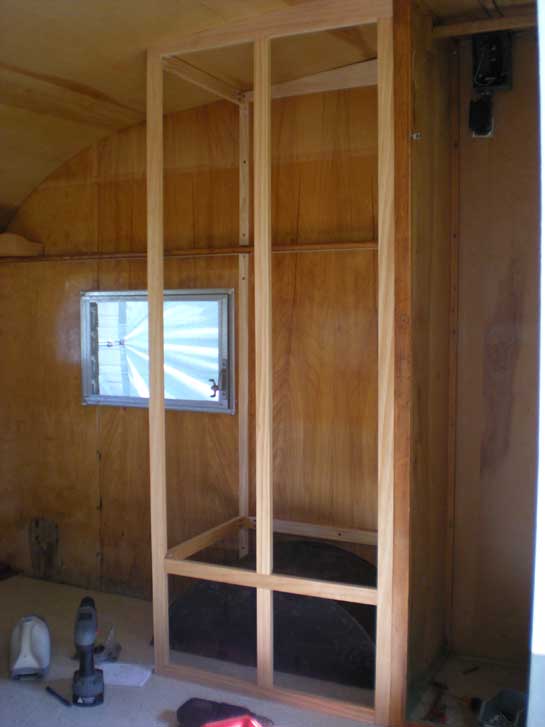
Closet framing is in
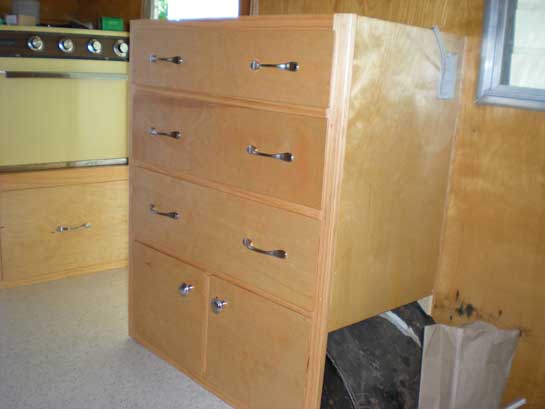
Dresser is done

Kitchen is done
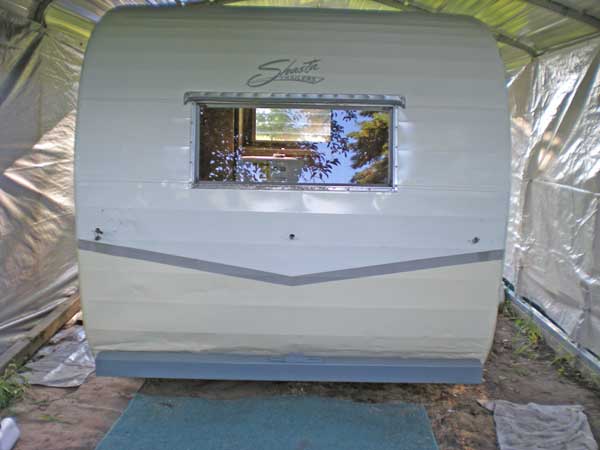
Rear painted and new reproduction decal added
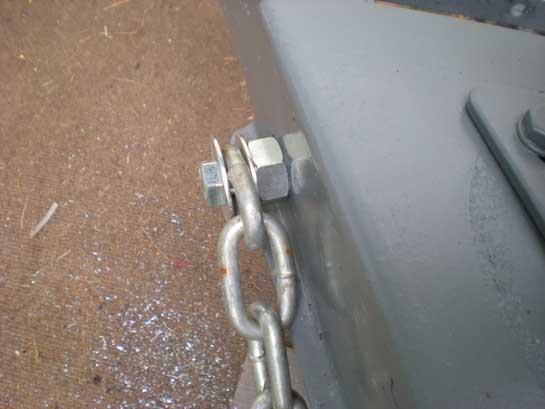
New safety chains installed
Hole cut for new city water connection
City water fitting installed
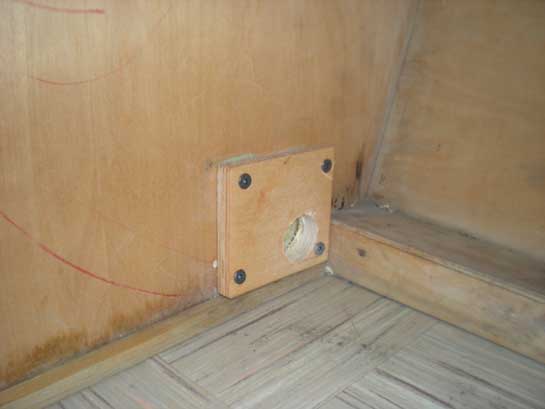
Connection on inside - awaiting pex-like tubing connection to the sink
The new shelf across the rear - made it a more practical size
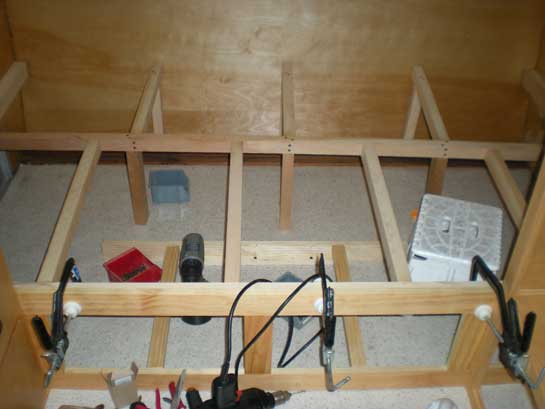
Constructing the framing for the new full-time bed
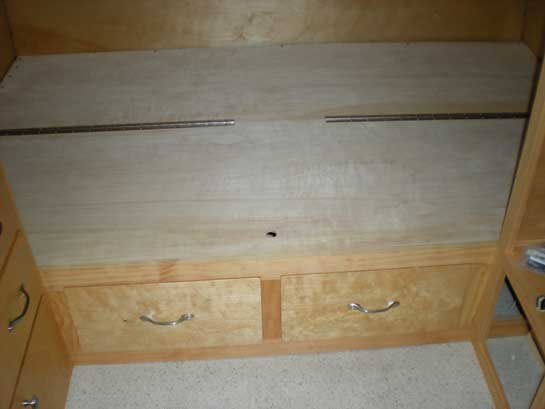
Bed is complete with new drawers installed
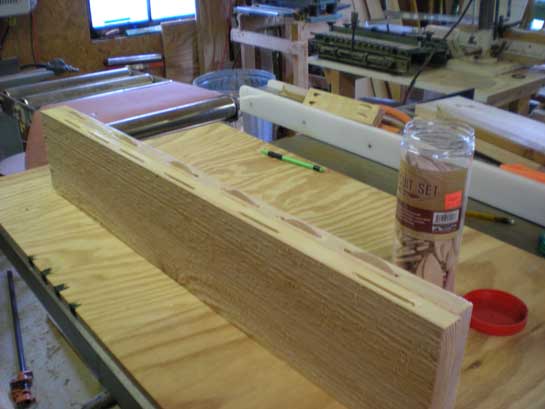
Making wings - out of cedar
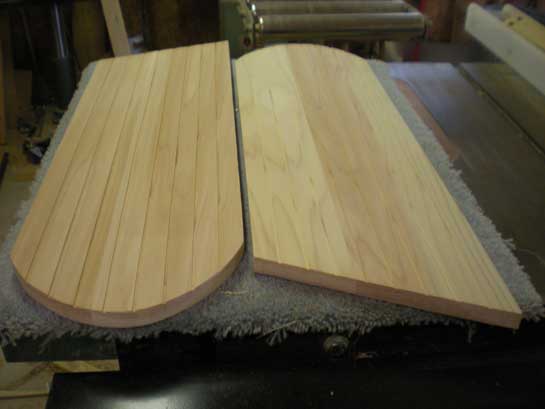
After glue-up and running a slight kerf every 1"
Heading to the Rally in Pennsylvania
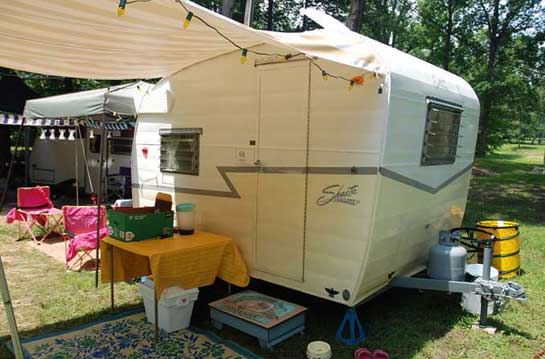
Her official Rally photo

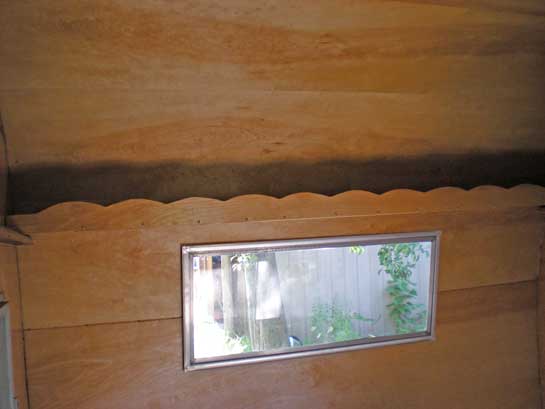
Interior front - sink & new countertops installed
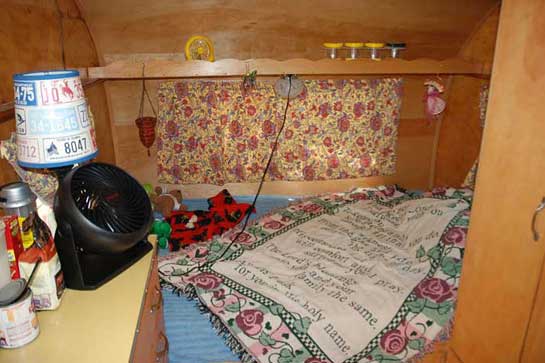
Interior rear with bed made up & closet doors installed
|
