| Doors
The original doors had cardboard "filler" inside of them. Any leaks at all and the filler rotted and you were left with a very flimsy door. If the door skin is okay, they can easily be rebuilt. If you're looking for a totally new door though, Aimee in Alaska was very pleased with the door she had built by these folks:
Remove the jalousy window unit first. This is held in with screws on the inside.
Remove door window first. It has a locking gasket. Use a screw driver to unlock the gasket and then very carefully remove the window. No easy way to do it - it will be difficult.
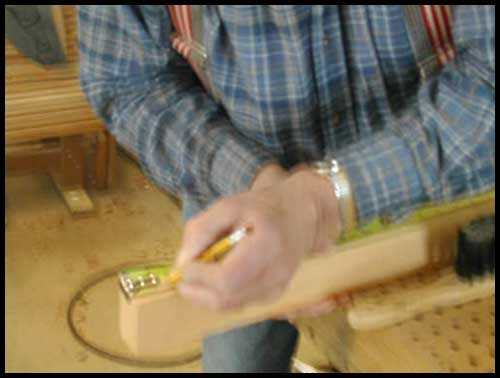
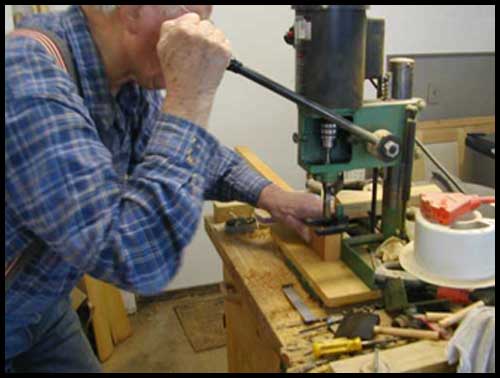
Replacing the fabric hinge cover The fabric covering of the piano door hinge was disintegrated. In asking around, I was sent to a local shop that does custom sewing for awnings, ATV and snowmobile seat cushions etc. The owner suggested I try a "polymer canvas" which goes by the trade name "Top gun".. He sold me a strip 5" by 6' for $1. He said I probably would never see the end to it. It really does seem quite tough. I replaced mine. A couple of hints in doing so. Drilling out the rivets from the door side was quite a chore, next time I would try removing the door frame first, I had to do this anyway, and drilling them out from the back side. Also, don't forget that extra fabric is needed to close the door, so don't put the fabric tight on an open hinge. I attached to the outside frame side first and then sandwiched between the door and the hinge, closed the hinge (door) and trimmed off the extra.
|