| Nancy
Kroes' 1959 Rear Door Scotty Rebuild
picking up where page 2 ends - jump to page 4
Thanksgiving Weekend - 1st Anniversary of beginning of rebuild!
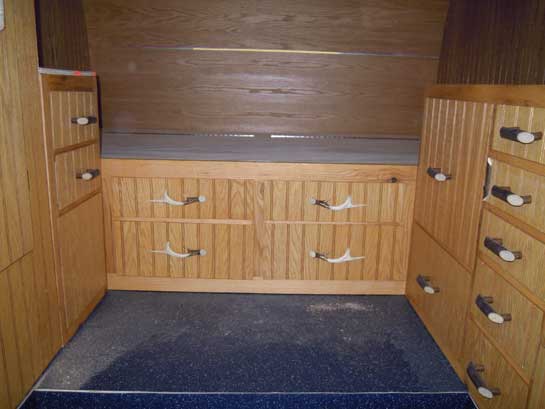
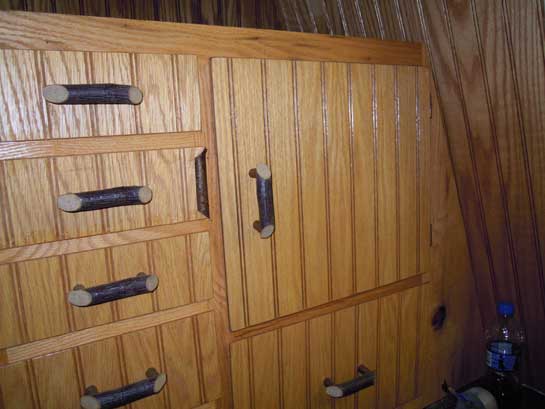
The faux antler handles are installed
The refrigerator "door" is installed
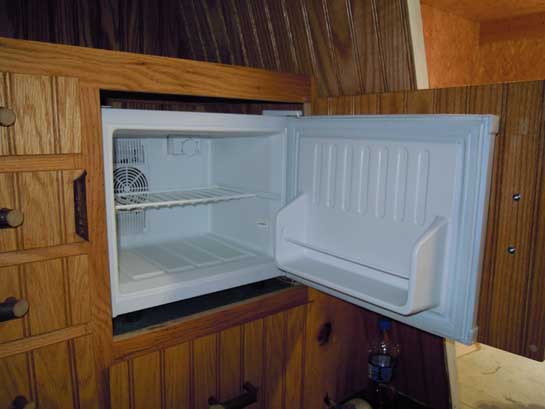
And so is the refrigerator
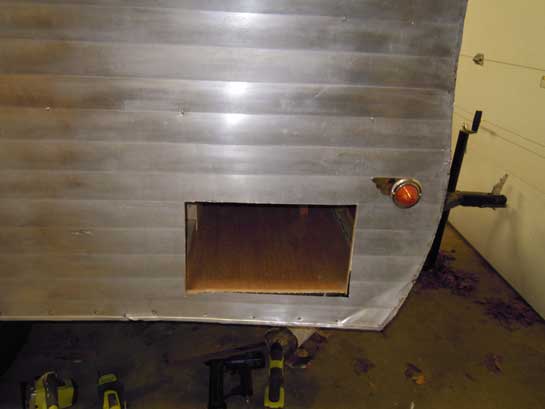
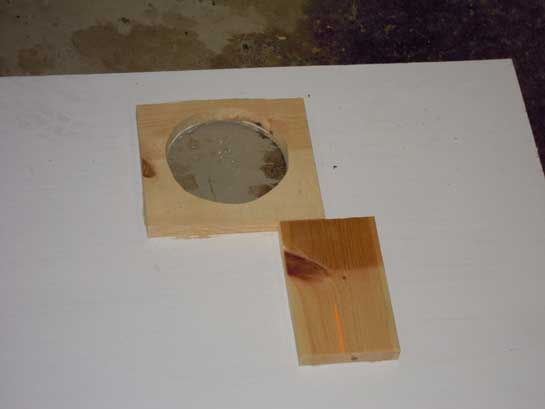
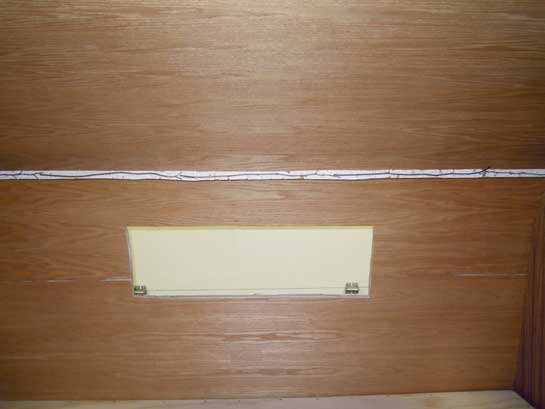
Hole cut for the new access door
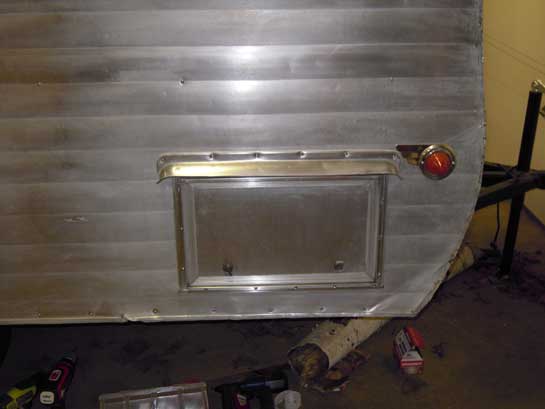
And it's installed!
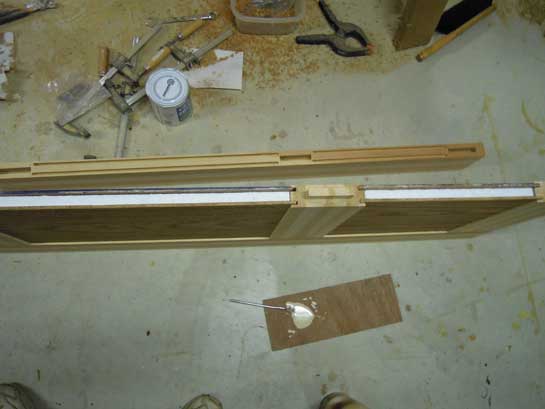
5/8" styrofoam between inner and outer door panels

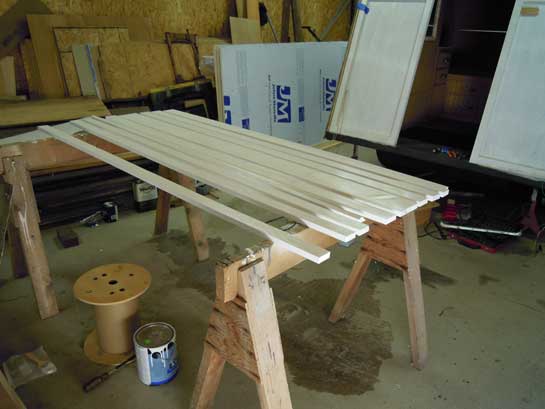
The new door after 2 coats of primer and 4 coats of 100% acrylic latex
1x support structure - painted to seal it
Support structure installed (and topside painted too)
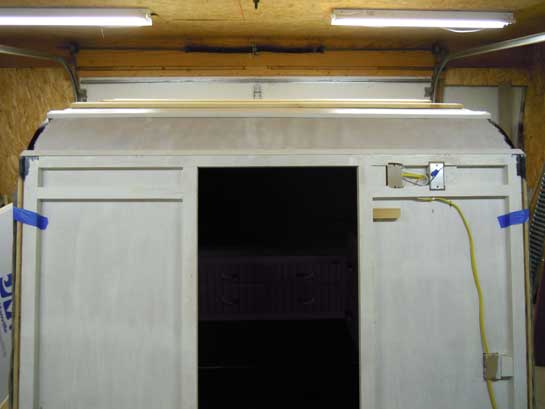
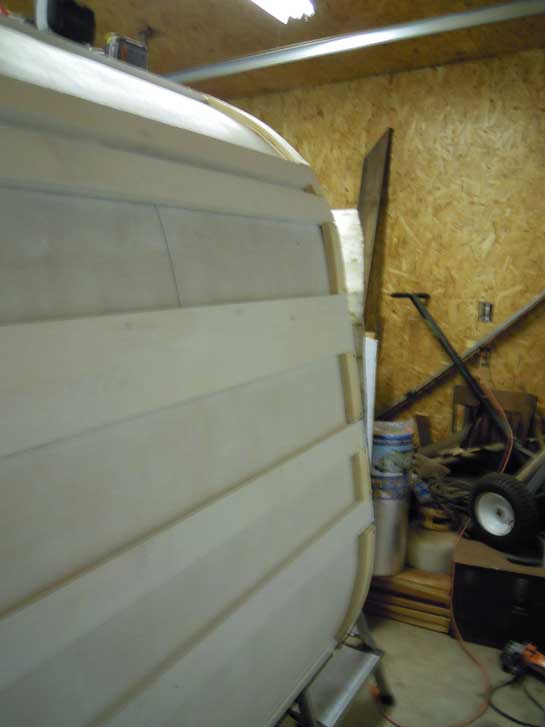
And the front - lots of 1x support structure installed
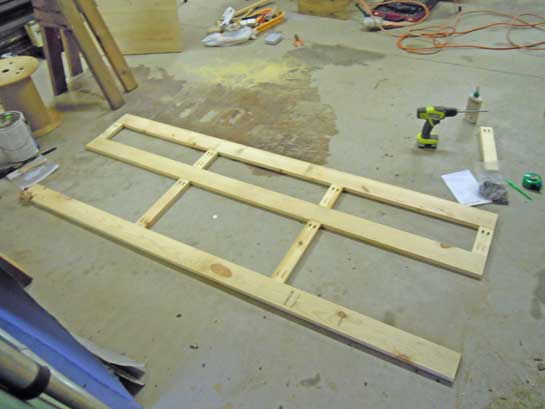
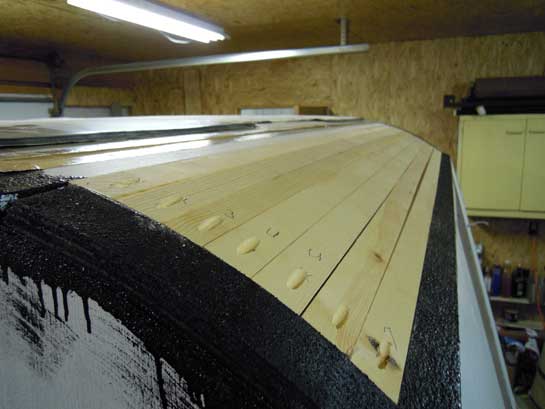
More roof support structure - this goes over the flat part of the roof
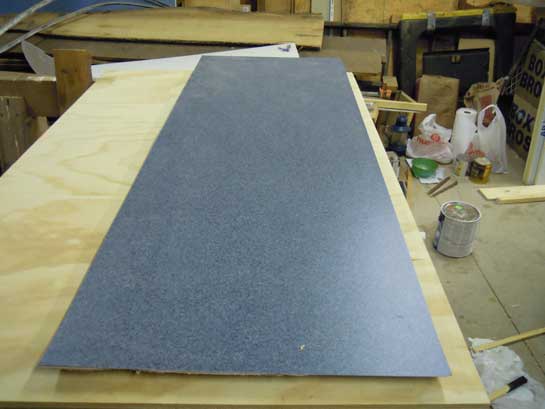
Countertop laminate is installed
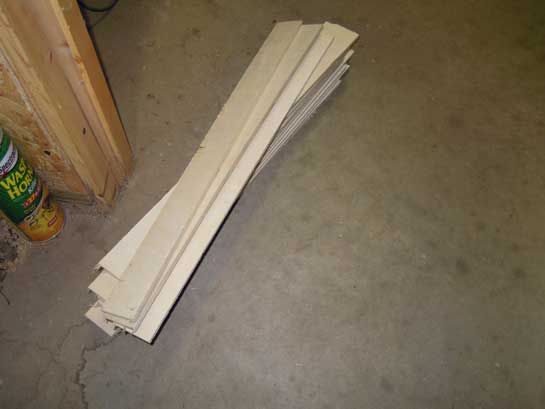
1/4" plywood cut into 2" wide strips. Serro made them 1 1/2 - I
am opting for wider as in my opinion, wider is better - more support.
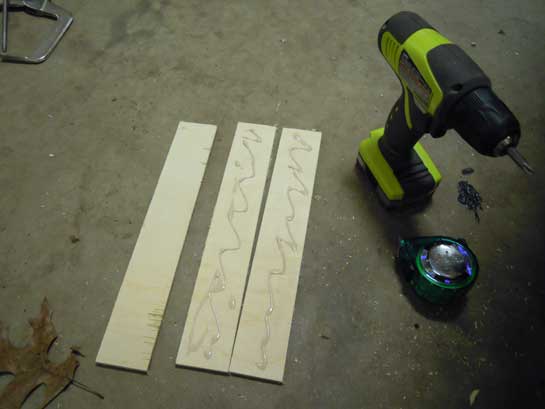
Three strips laminated to each other and glued

The strips fill in all the gaps betwen the 1x structure. Three 1/4" pieces
have flex, versus no flex if you used one 3/4" piece.
Another picture
That flat roof support installed.
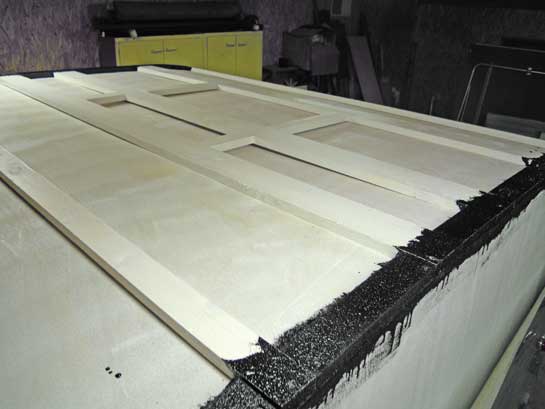
Herculinered all the edges. My opinion, the more sealing you do, the better!
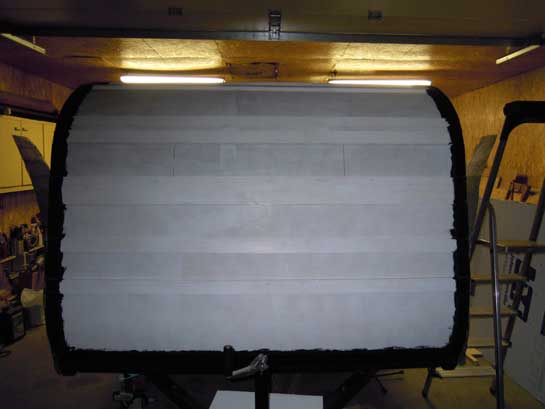
And, from the front.
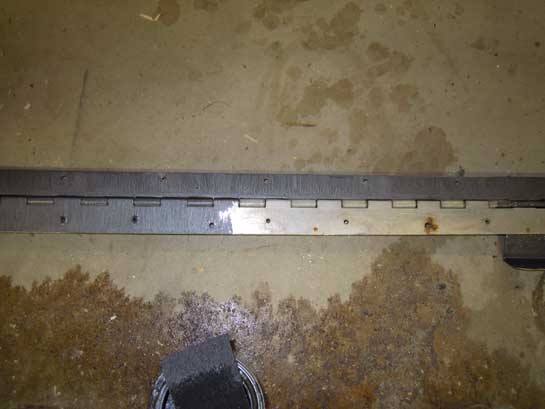
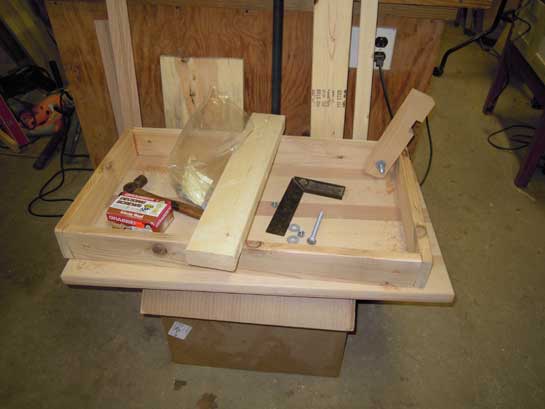
Door hinge - painting with POR15"Metal Mask"
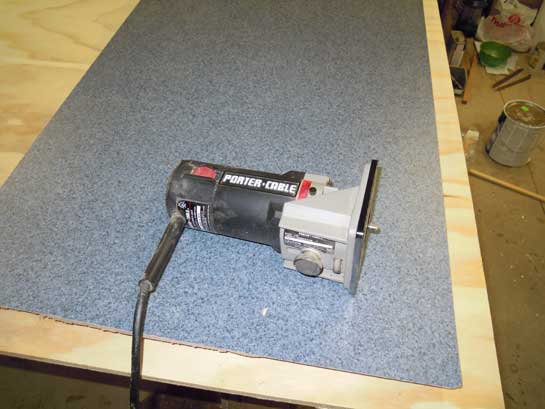
Trimming the countertop
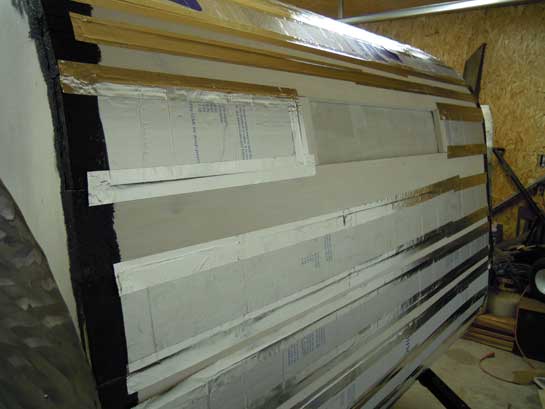
Gaps between 1x structure filled in with 3/4" foil faced foam board.
Used aluminum foil tape to seal to the boards.
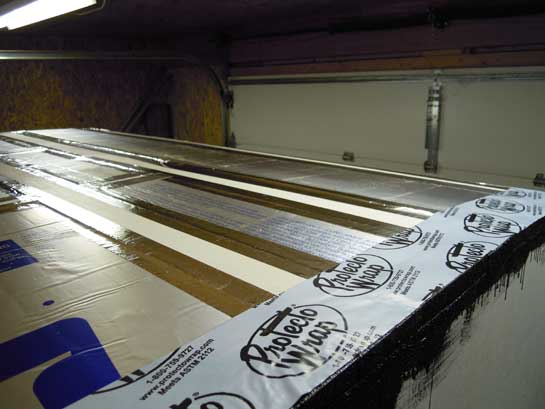
And, the roof. Sealing edges with "Protecto Wrap",
a butyl hybrid window and door sealing tape.
Sealed along the edges and across the bottom
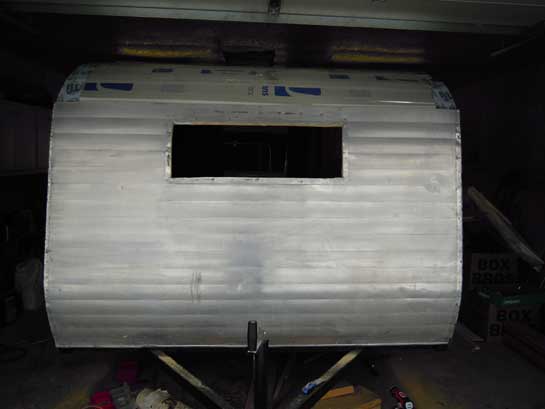
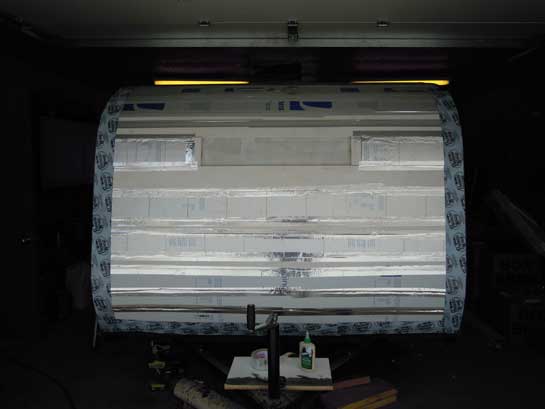
Lower skin on and window cut out
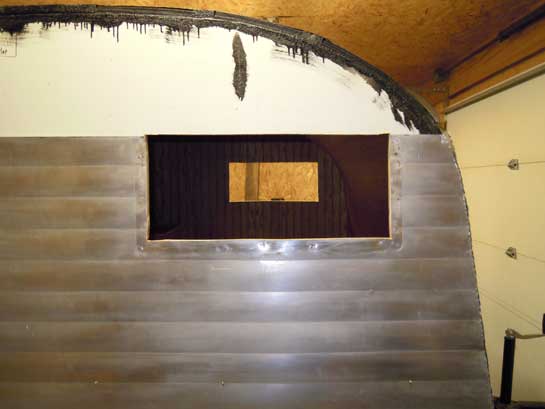
Side windows are cut out
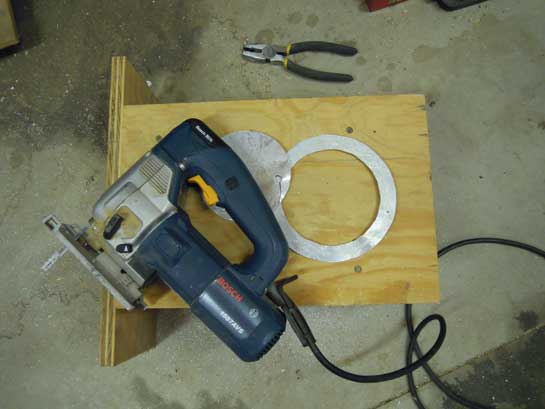
My taillight backers cut out of aluminum plate
1x glued and braded to the back of the outer rear panel
to give something more solid than 1/4" plywood to screw lights to
One side done - ready to skin

And, the interior of the new door after 2 coats of super duper exterior poly
My awning rail is in 3 pieces and curves around this last section of
roof - used 1 1/2" strips to make this curve for something solid to screw into.

Back all sealed and ready to skin

Skinned and all LED lights installed
1/4" plexiglass (gray tinted) is cut and installed in all the windows
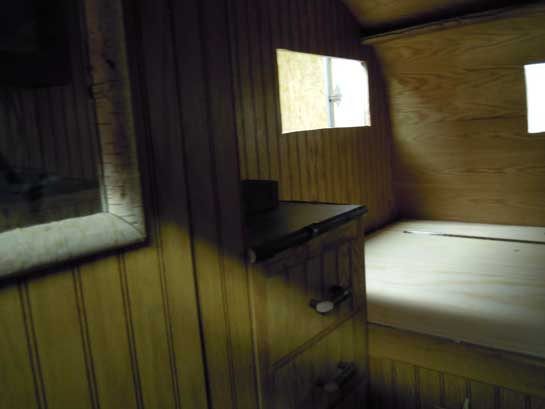
Shelf across the front is made and installed.
Porch is getting put together

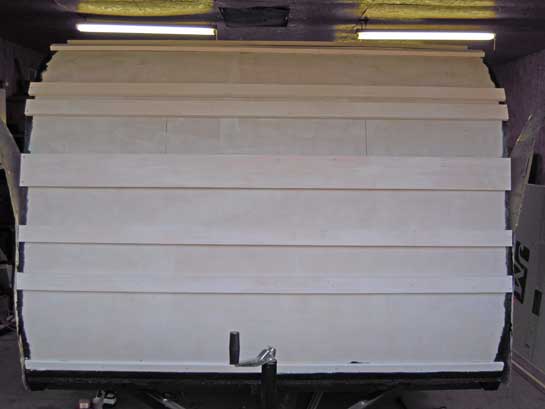
All the skin is now on!
December 12 & 13

Lost one of the wheel well strips bringing the Scotty home from MA.
Fortunately there was a piece of the same molding along the edge
of the drop down and I wasn't going to use it. My dad is bending it to the right shape.
Twigged around the edge of the counter tops

Curtain tie backs. This is some kind of sapling I cut down,
but my brother-in-law pointed out, it looks like antler. COOL!

Planed and cut more oak into strips for door and window interior trim

There is a 3" overlap between front and rear roof skins with butyl tape
and stainless steel Robertson head screws every 1 1/2".
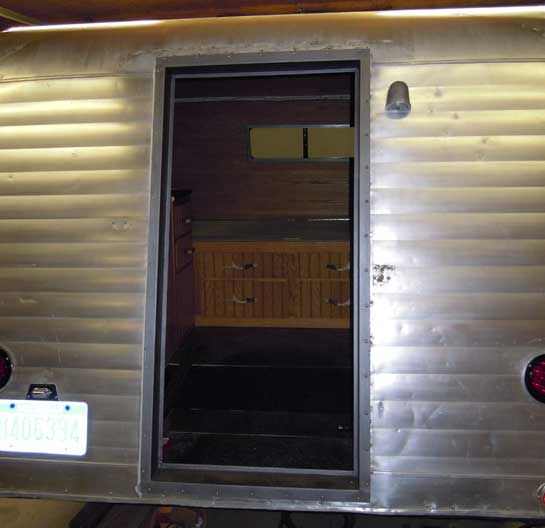
Door frame installed - used #8 1" stainless steel screws.
I was screwing into 1 1/4" wood - on a normal Scotty, use 5/8" #8s!
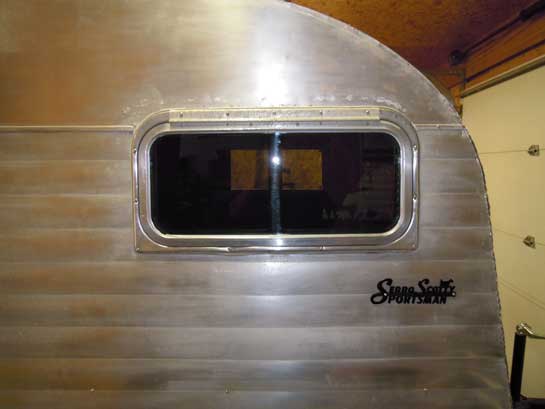
The windows are installed. I used 1/4" gray tinted plexiglass which
creates a mirror effect from outside, but is a normal view from the inside
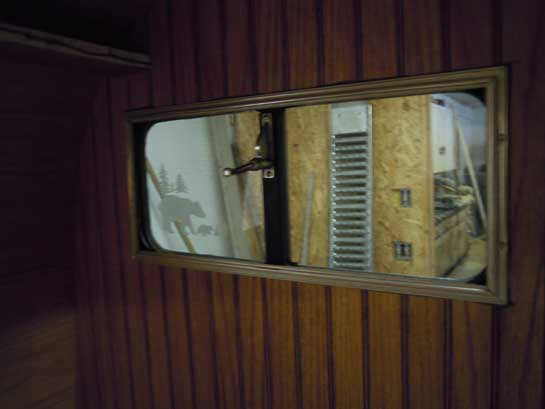
The cool bear decals I picked up in the UP - looks like etched glass.
One on each of the side windows.

Edge strips are installed. My "crew", Dad sat on the stool and
held the back corner down and brother-in-law Craig held them down
from the sides while I screwed them in place.
continued on page 4
|
